A standard workflow when working with large catalogues or campaign papers involves a lot of data changes. Everbody knows that, it’s just a part of the production. Design changes most offen course a complete rebuild of the catalogue. A real pain in production. This tutorial will guide you to understand the Cacidi Extreme Design Update feature.
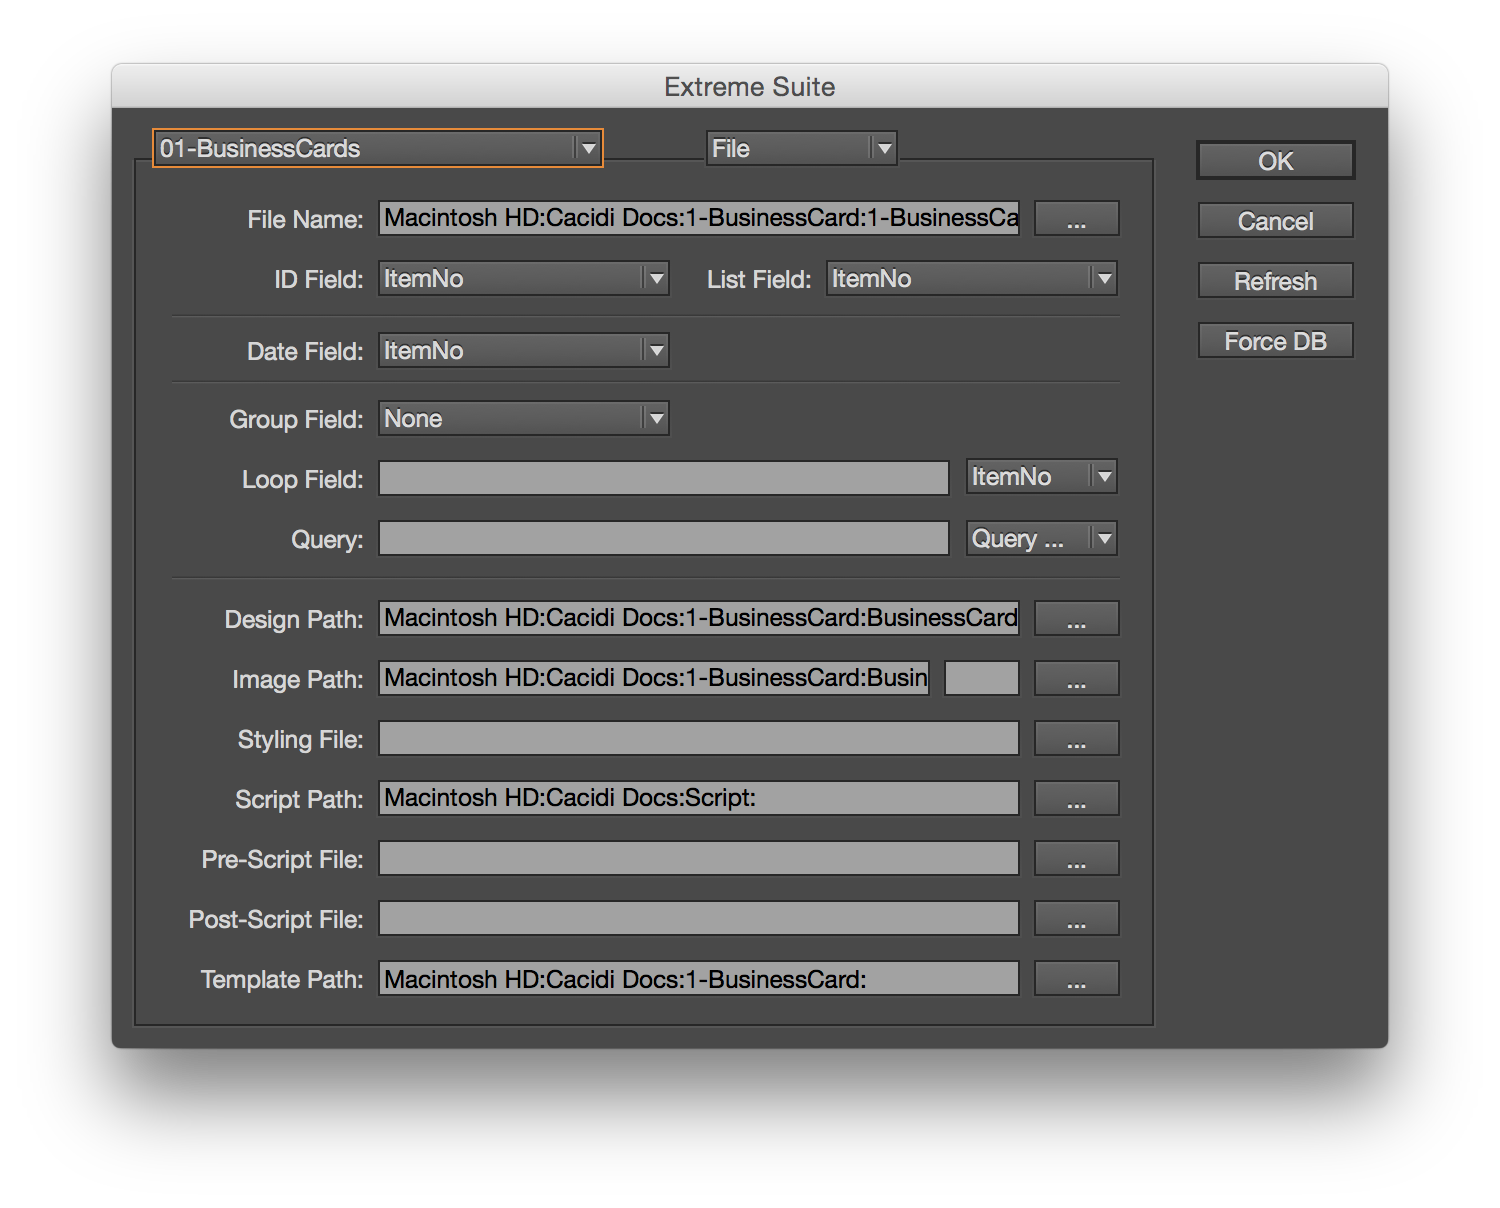
To start this tutorial you will need to create a job, using snippets. It can be a job created using AutoCalc, Step ‘n Repeat or Predefined. In this tutorial we will be using the “BusinessCard” tutorial, a job you can read about here.
 Create the job
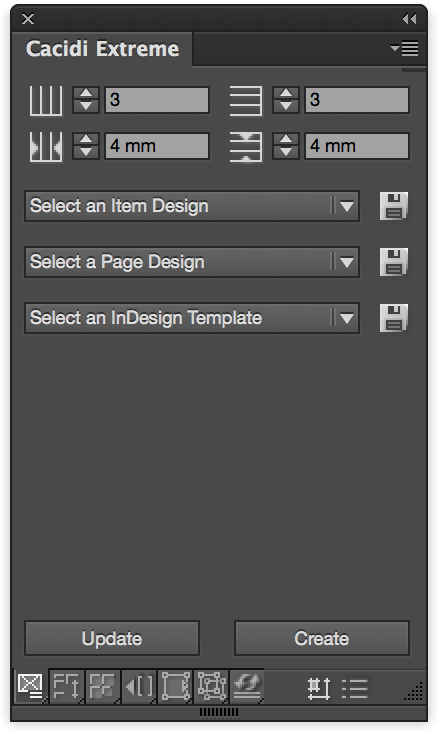
To create the job, select the BusinessCards project in the project menu – you will find the menu in the Extreme palette -> fly-out menu->Projects->BusinessCards. Open the “Template” in the “Select an InDesign Template” pop menu. Select the “BizzPage.cep” in the Extreme palette “Select a Page Design” popup menu. Click the “Create” button to create the document.
After you have created the page with businesscards, Open the template once more, or create a new InDesign file. Now reset the “Select a Page Design” popup menu, by selecting the first element (“Select a Page Design”), the select the “BizzAdobe.idms” file in the “Select an Item Design” pop menu.
 Changing the Item Design
Alter the Design, change colors of the element, rotate the logo or something else so you can see that the design has changed. Now save the design, with the same dame, and location by selection the frames, and press the save icon next to the “Select an Item Design” popup menu.
Running the Design Update
Now close the document, where you changed the design and select the document where you build the original document. Now go to the Extreme palette fly-out menu and select the “Design Update” function.. and you are done!
