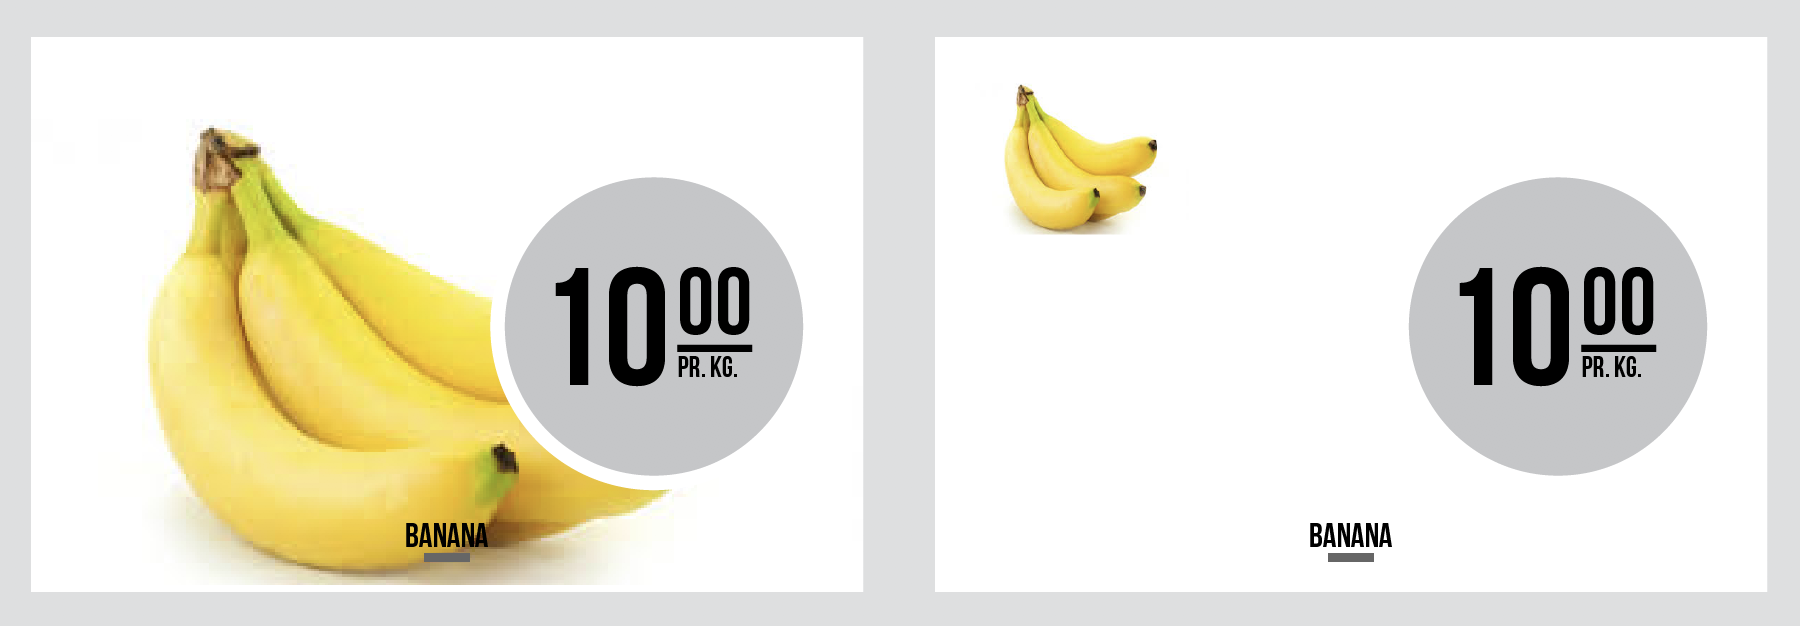
Cacidi SmartImagePlacement script are now available to all Cacidi Extreme and Cacidi LiveMerge users. The Script will repositioning resize images in a snippet design, when other images are deleted in a group of images and space are left empty. Let’s say you have a snippet with the space for six images and five of them are not available – the script will reposition and resize the image to take all space previous used for all six images. There are two ways the reposition and resizing can be executed, either by intelligent calculation of remaining space based on a grid, or by preparing a rule-set for position/size of images.

The Grid Based – Easy
When using the grid based calculation the SmartImagePlacement script will use the parent group size and create a grid with a number of columns and rows, based on number of images. The image size and position are calculated using the grid and the script will also take in consideration landscape or portrait oriented images – count the number of each orientation and make a decision which grid layout to use. The Grid Based method should be possible to use Out-Of-The-Box, meaning without editing script..
The Custom Rule Based placement – Advanced
When using the Custom Rule Based method, you have decided where images should be positioned when you one, two, three and every other variation you have for all the different designs you have. You will still have the advantaged of a very few snippets to maintain, and the great flexibility of many image positions.
You will create the different image layout with a small tool detectImagePosition.jsx 1), again a script, reading the bounds of images in the image group, and then save them to a temporary file on the desktop.. Later when all the image position for one design (and one orientation) are created, the data from the file must be inserted to the SmartImagePlacement script.
Editing the script to customised position
In the example, we have inserted different positions rules in the code blocks ABCDE, and when sending an “A”, “B”, “C” or “D”, in the Script Argument field those rules will be applied to the group.
The data of the file should be copied into the hard brackets like this..
sizeList=[];
Like these examples:
if(portraitOri>landscapeOri) // one for portrait images
{
sizeList=[[[0,0,38,62]], [[0,31,38,31],[0,0,38,31]], [[31,31,31,31],[0,31,31,31],[0,0,31,31]] ];
}
else //and one for landscape images
{
sizeList=[[[0,0,38,62]], [[0,31,38,31],[0,0,38,31]], [[31,31,31,31],[0,31,31,31],[0,0,31,31]] ];
}
IMPORTANT READING!
To get both the Grid Based and the Custom Ruled Based to work it is crucial that all images are in a group, and the last image frame in the group has attached the script. It must be the last one, else all images are not placed when the script are executed..
As always if you need help to make the script work the way you want, we can assist you and Support Clicked are used for that purpose.
Download the RemoteSmartImagePlacement.jsx script here
And the tool for creating the bounds information detectImagePositions.jsx script here
1) Put this script in the /Adobe InDesign CC/Scripts/Scripts Panel/ folder in the Application folder, for easy access.
