An additional feature Cacidi Extreme is called Cacidi BarCodes and brings the ability to create barcodes as part of the automated production.
When using Cacidi BarCodes, these are created instantly as live objects in the automated production, based on simple barcode digits in the datafile.
Setting up a project using barcodes
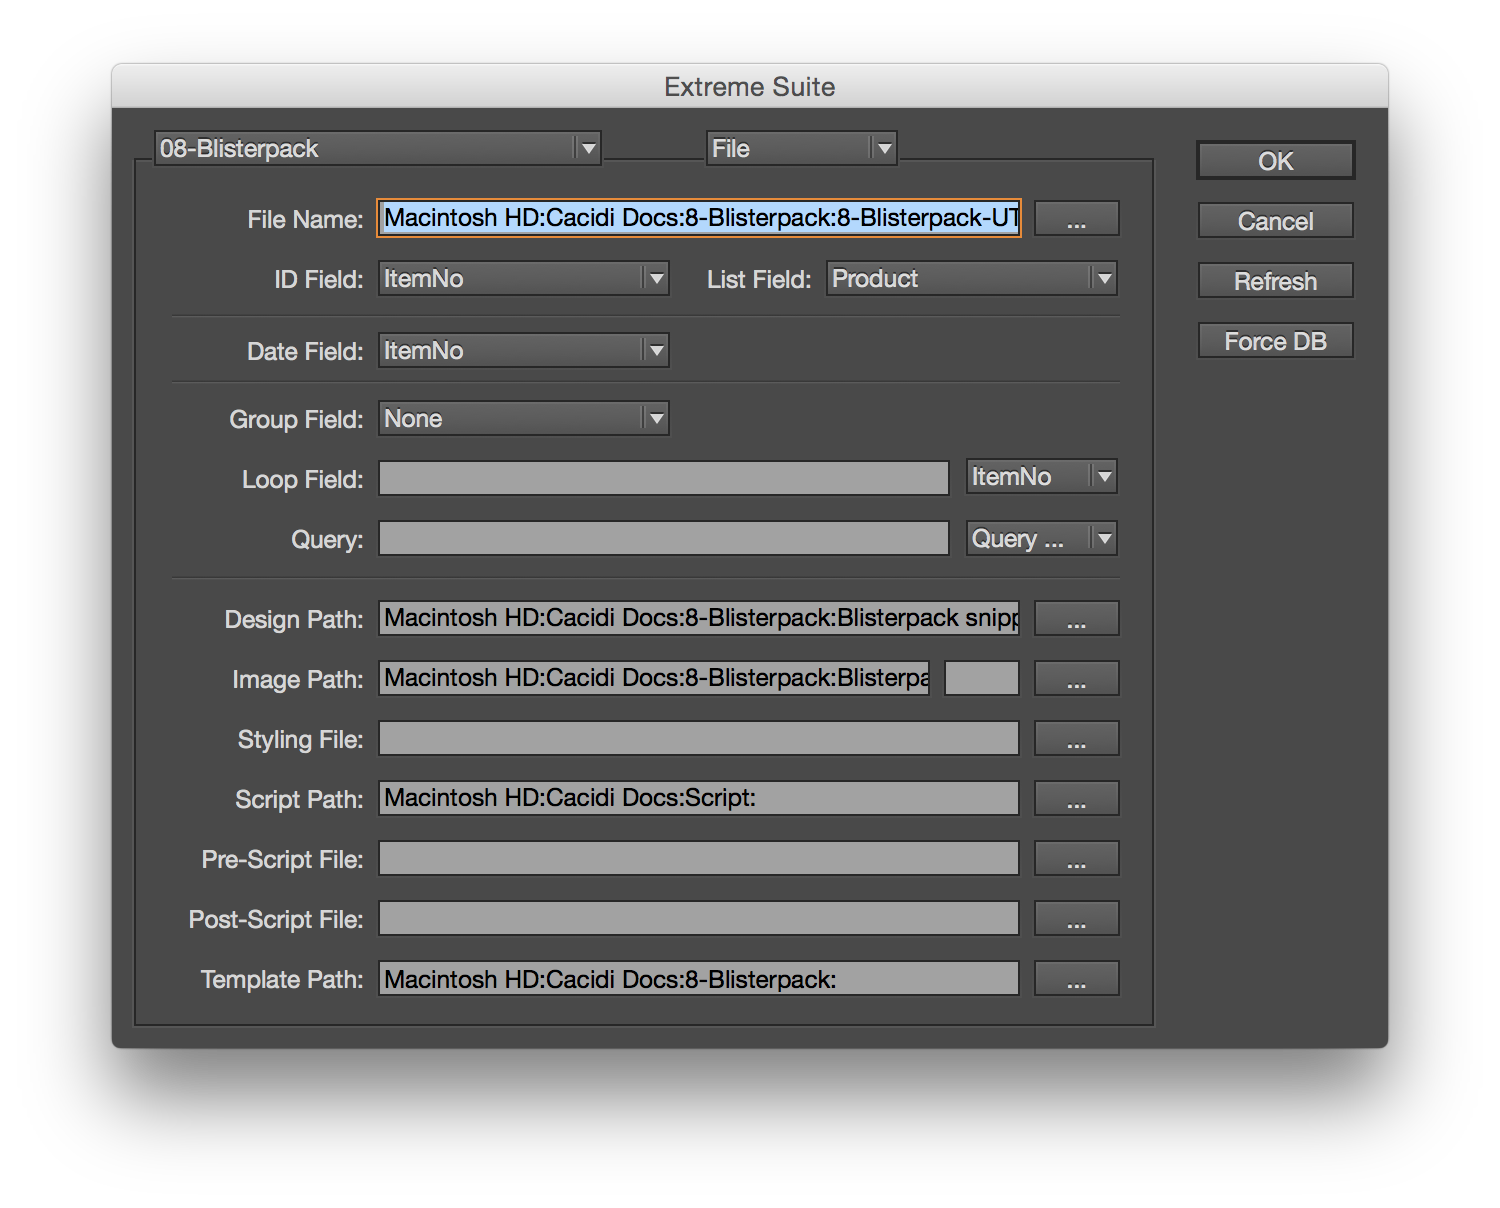
Start by selecting the project named ”08-Blisterpack” in the palette fly-out menu of Cacidi Extreme or LiveMerge.

Open the InDesign template named ”Blisterpack.indd”.
Select the item design ”Blisterpack” from the Select an Item Design pop-up menu in the Cacidi Extreme palette (or by alt+drag the design from the LiveMerge Panel).
As you see, here’s an Item design that already contains a barcode object.
Delete the barcode from the Item design.
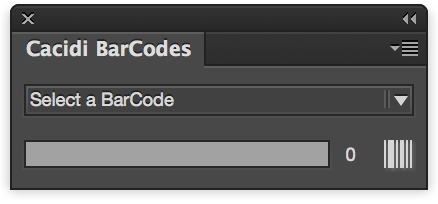
Now, select the ”Cacidi BarCodes” palette from InDesign’s ”Window” menu.
 From the Extreme BarCode palettes pop-up menu select a barcode type, for example EAN-13 which is the European barcode standard.
Deselect everything on the page and position the cursor in the palettes entry field and start typing numbers until a bar code automatically is created in your InDesign document.
You now have a barcode object to assign automation, exactly like you have done with images in the previous sessions.
Position the barcode object on top of the item design in the layout.
Assigning automation to the barcode object
Click on the barcode object you just created, so the barcode are selected.
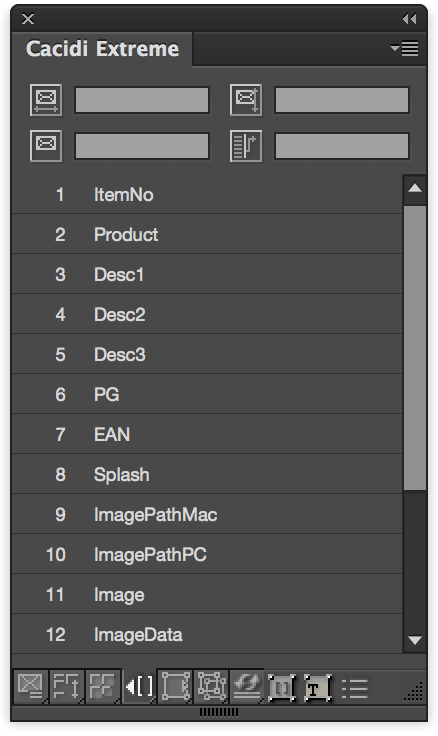
In the Cacidi Extreme palette select the Link Setting panel, by pressing the fifth button (or the forth button in the LiveMerge palette). Now click on the EAN field in the list. EAN is the field name corresponding to the barcode information in the data file.
To save the Item Design or snippet
Select all the objects including the barcode object in the layout.
Save the Item Design in the project folder named “Blister”. Use the same name the item was called before: “Blisterpack” (replace the current item). To save an Item Design with Cacidi LiveMerge, just drag it to the palette.
Running the automation with barcodes
Delete everything from the layout.
From the Select an Item Design popmenu in the Cacidi Extreme palette, select the item design “Blisterpack”.
Now click the “Create” button, point to the file “Blisterpack.txt” and the automation process starts.
When viewing the finished production, you see that individual barcodes, based on the barcode digits in the [EAN] records from the datafiles are created.

I have the updated Cacidi Extreme light. When doing the part below, I am unable to select the “EAN field” in the list. Or any field for that matter. I am able to click around in that list only if I don’t have a item box selected. However, doing it this way will not assign that field to the box.
Assigning automation to the barcode object
Click on the barcode object you just created, so the barcode are selected.
In the Cacidi Extreme palette select the Link Setting panel, by pressing the fifth button (or the forth button in the LiveMerge palette). Now click on the EAN field in the list. EAN is the field name corresponding to the barcode information in the data file.
Hi, you should be able to see that a dark field in the lower left corner of the selected bar code showing [EAN], the EAN should not be selected, just pushed/clicked.. if you want to check if the merge marker is applied to the bar code go to the “Frame Settings Panel”, just next to the “Text Link Panel”, the field right to the camera icon should show the merge marker [EAN].