
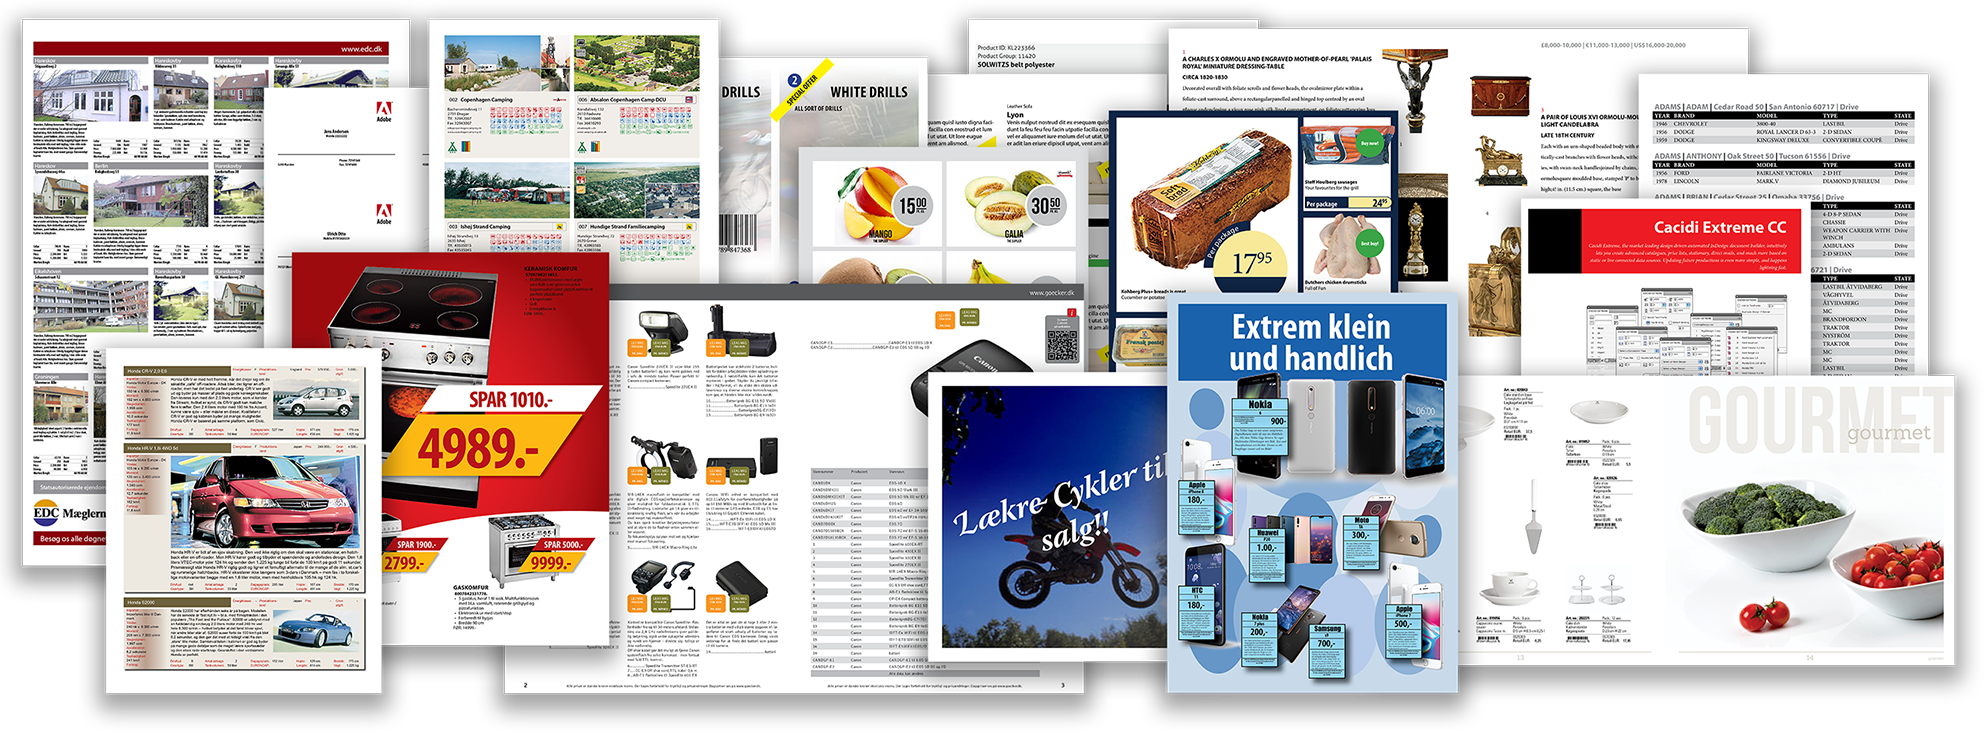
 This is a short description of all the demo project included in this installation. How to run the process and what the purpose of the project is.
1-BusinessCard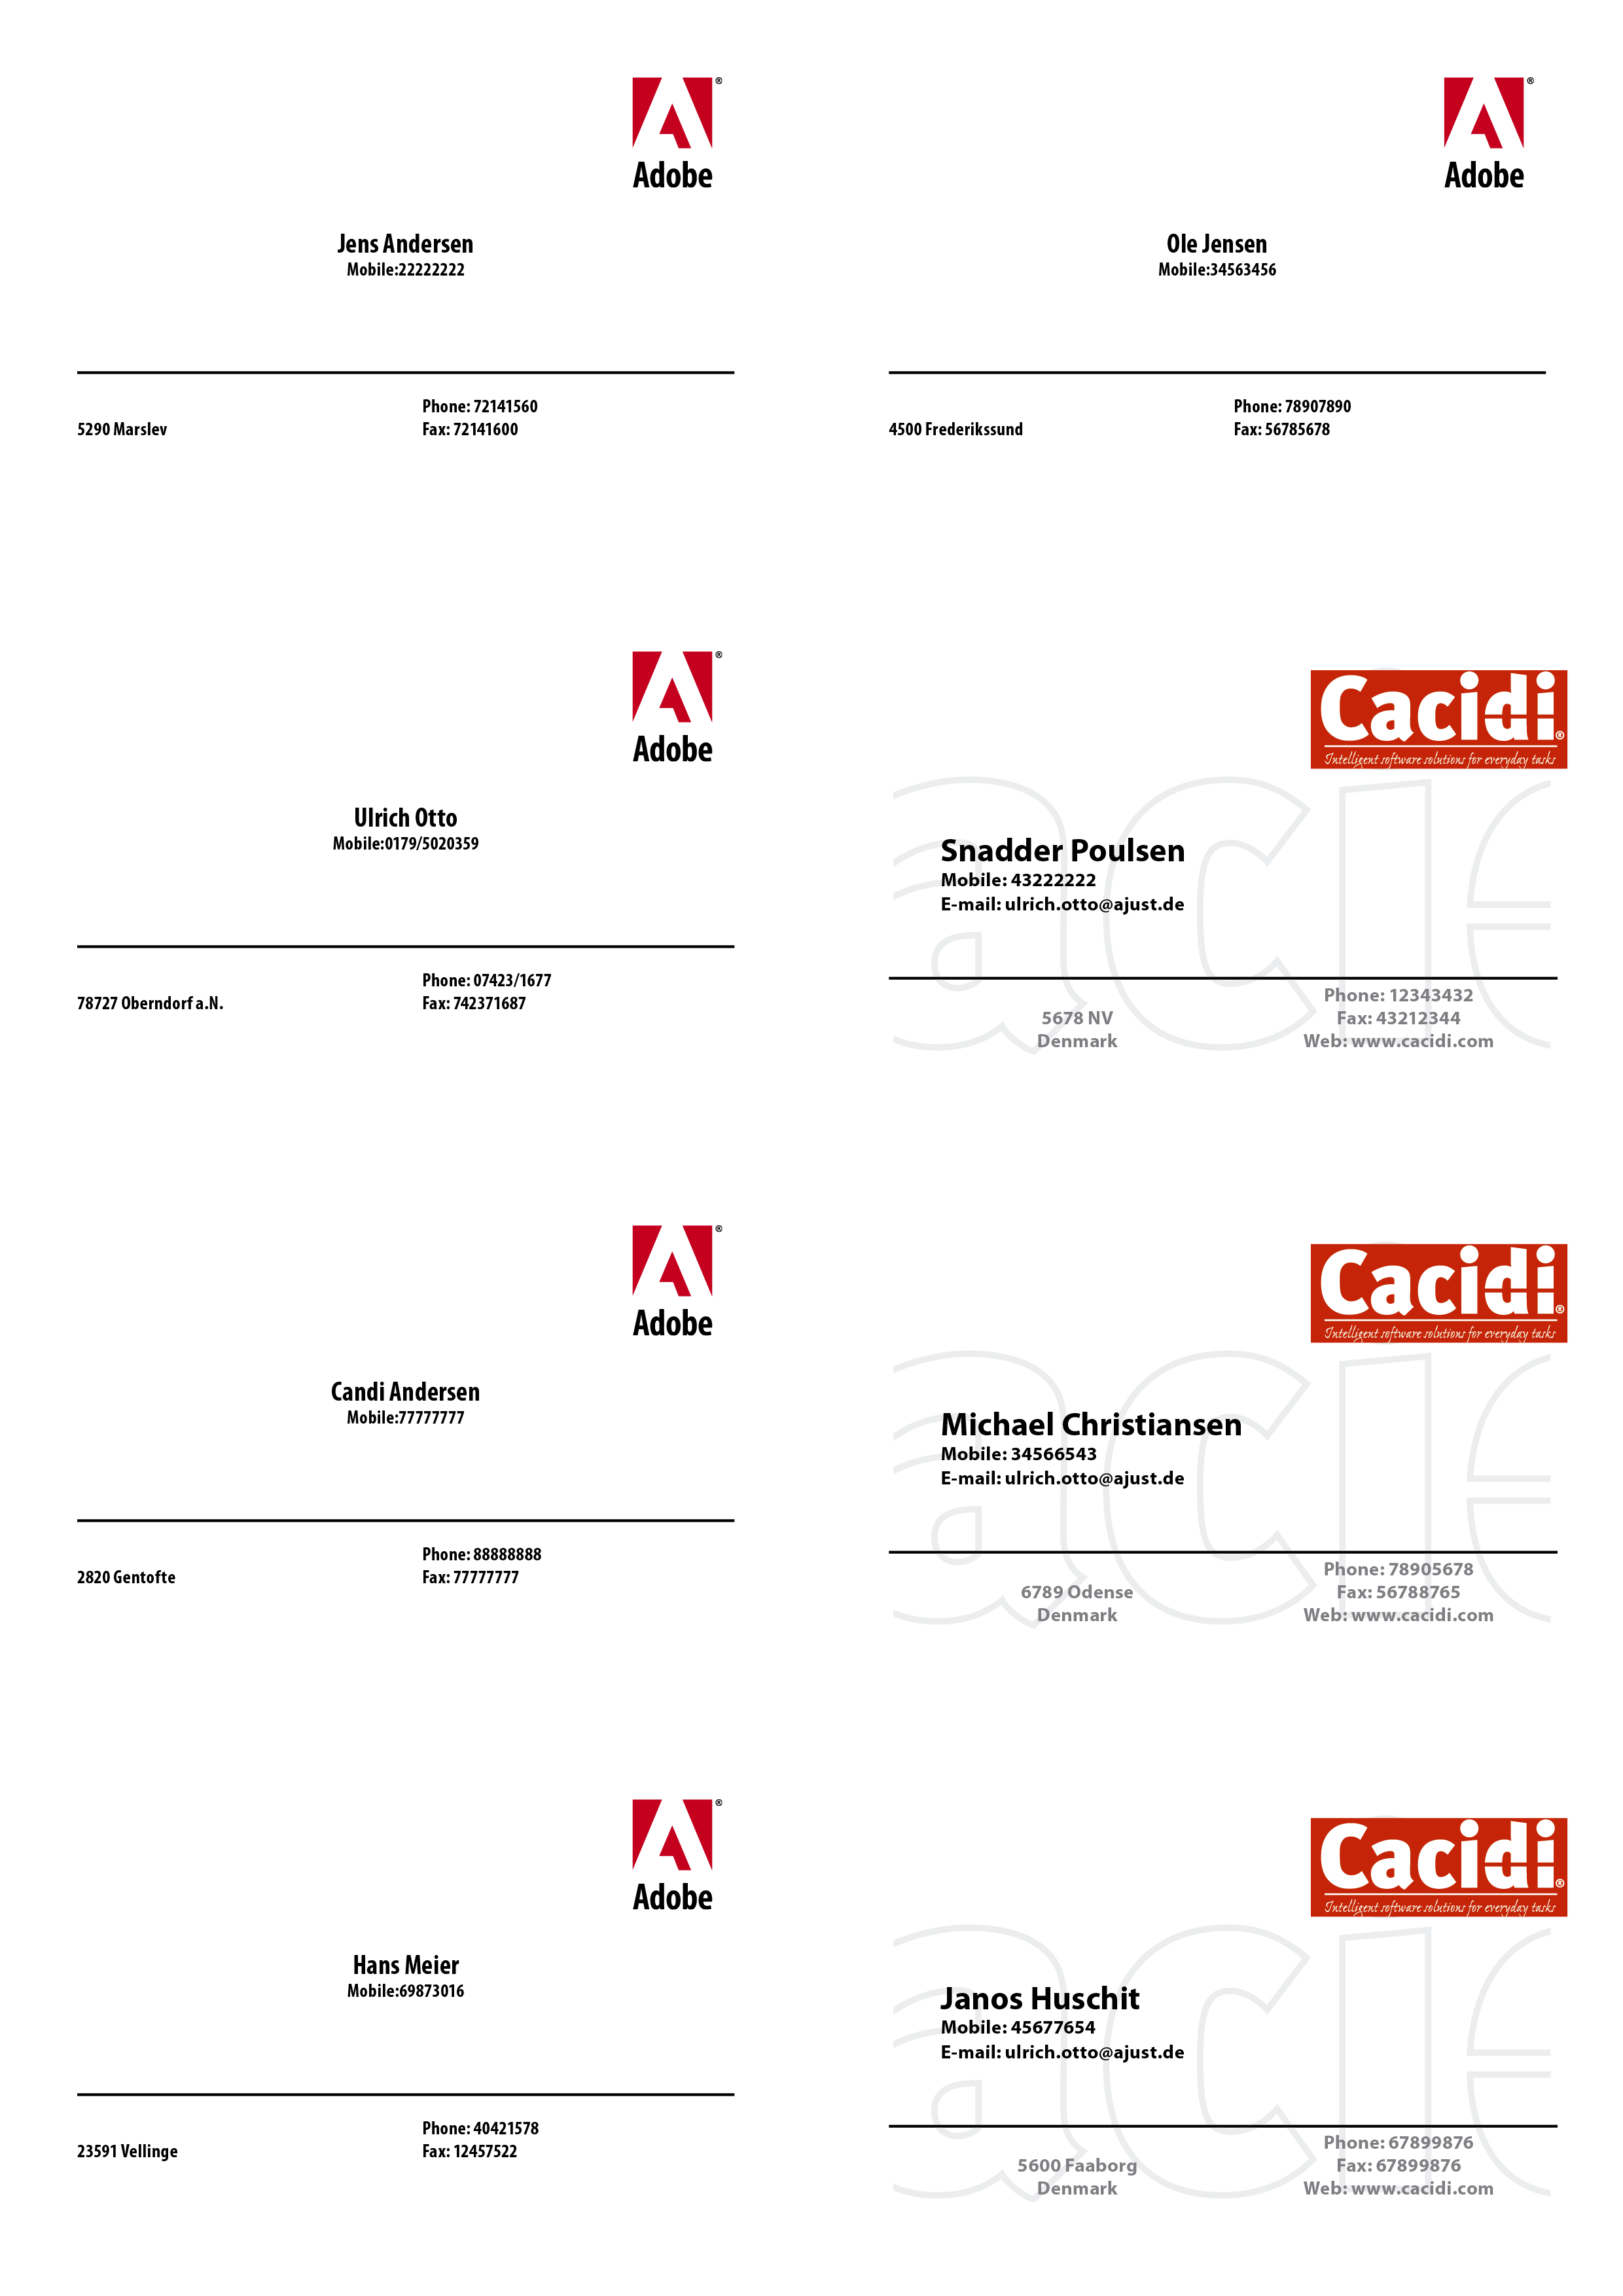
A simpel project for creating business cards, the template are include as well as designs and data. The purpose are to include a very simple project for trying to create, modify designs and to create pre-defined page design.
Steps to run the job:
1) Change the Project to 1-BusinessCard in the Extreme/LiveMerge palette flyout menu
2) Open the BusinessCard.indd, In Extreme use the “Select an InDesign Template” popup menu
3) Setup a grid on the page, using Extreme grid 2 columns, 4 rows, 20mm gutter between.
4) Create a Step ‘n Repeat job by choosing the “BizzAdobe.idms” design in the “Select an Item Design” popup menu.
5) Press the “Create” button.
.. Next step? Create your own Designs
2-RealEstate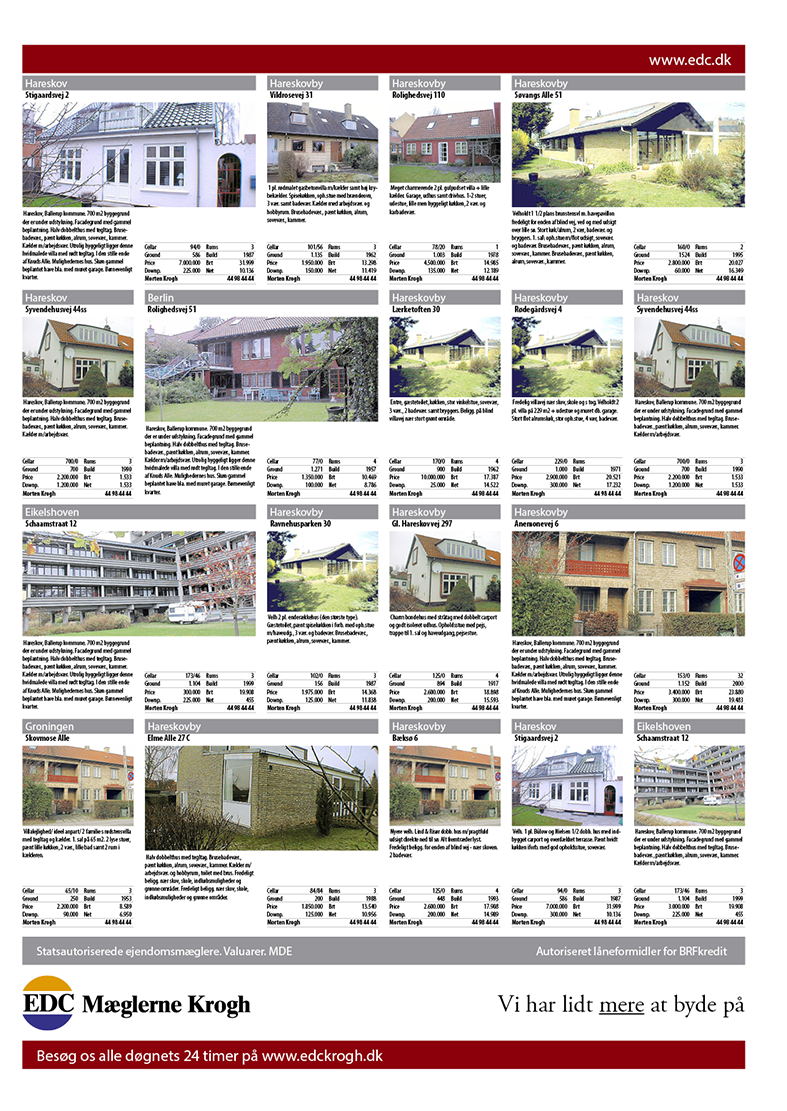
A full page real estate agency ad, can easily be setup using a Pre-Defined Page Design and a couple of Designs. The purpose is to show the strength of creating a Pre-Defined Page Design.
Steps to run the job:
1) Change the Project to 2-RealEstate in the Extreme/LiveMerge palette flyout menu
2) Open the RealEstate.indd, In Extreme use the “Select an InDesign Template” popup menu
3) Setup a grid on the page, using Extreme grid 6 columns, 4 rows, 4mm gutter between.
4) Select the “RealEstate Page.cep” in the “Select a Page Design” popup menu
5) Press the “Create” button.
.. Next step? Create your own Page Designs
3-Phones
A full page ad for mobile phones using a free floating Page Design. The purpose is to show that a Pre-Defined Page Design down need to be attached to a grid, but can be free floating.
Steps to run the job:
1) Change the Project to 3-Phones in the Extreme/LiveMerge palette flyout menu
2) Open the Phones.indd, In Extreme use the “Select an InDesign Template” popup menu
3) Select the “Phone page.cep” in the “Select a Page Design” popup menu
4) Press the “Create” button.
.. Next step? Create your own Free Floating Page Designs, by creating a regular Page Design using the grid, and the move the Design place holders to not being bound to the grid.
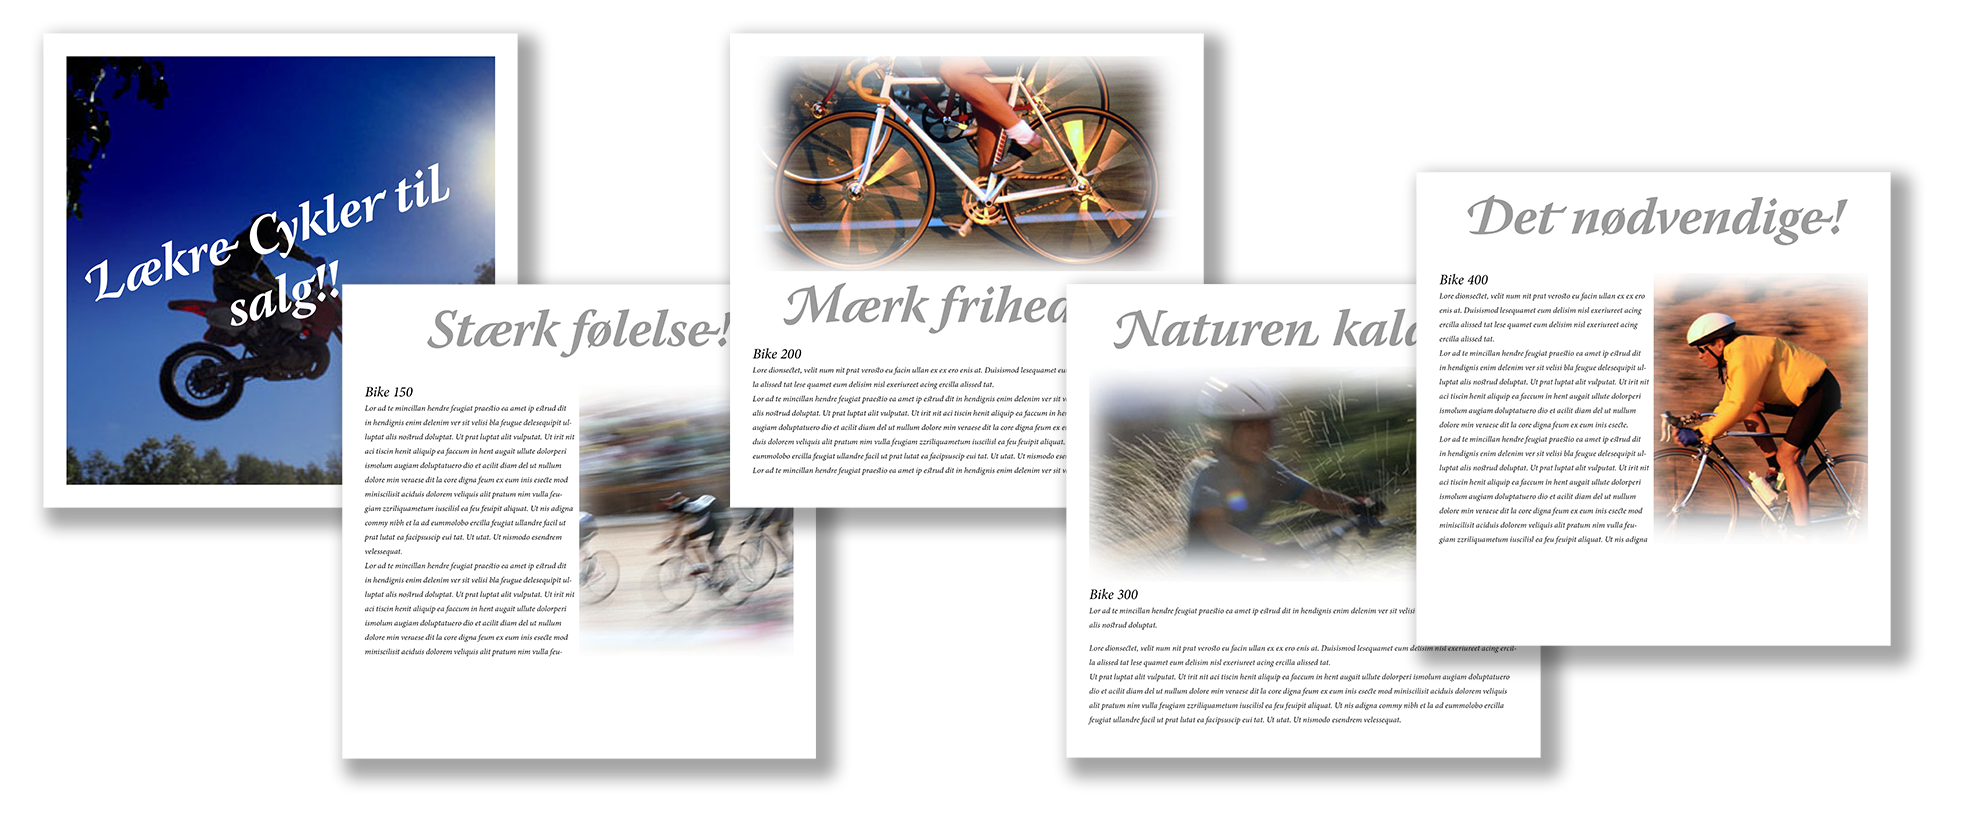
4-Bikes
A 12-Page brochure in two languishes, one layer with Danish and one layer with English text.. but sharing the same images.
1) Change the Project to 4-Bikes in the Extreme/LiveMerge palette flyout menu
2) Open the Bikes.indd, In Extreme use the “Select an InDesign Template” popup menu
3) Select the “Bikes Cat.cec” in the “Select a Page Design” popup menu
4) Press the “Create” button.
The Danish version are now build, and you have a document with 12 pages..
5) Open the InDesign Layer palette, and make sure the Images Layer are at the bottom.
6) Select the 6th bottom icon (Advanced Settings Panel) in the Extreme palette
7) While the Images layer are selected, press the “Move Text Frame to Next Layer” icon bottom.
8) copy the DK layer (which now should have the Danish text frame but – no images) by dragging the layer to the new layer symbol.. Rename the layer to UK
9) Lock the DK and the Images layer
10) Hold down the shift key, while pressing the “Update” button in the Extreme Basic panel (first bottom icon.)
11) Select the 4-BikesUK-UTF8.txt when prompted.
Now you should have three layers, one with images, one with Danish text and one with English text.
5-Flyer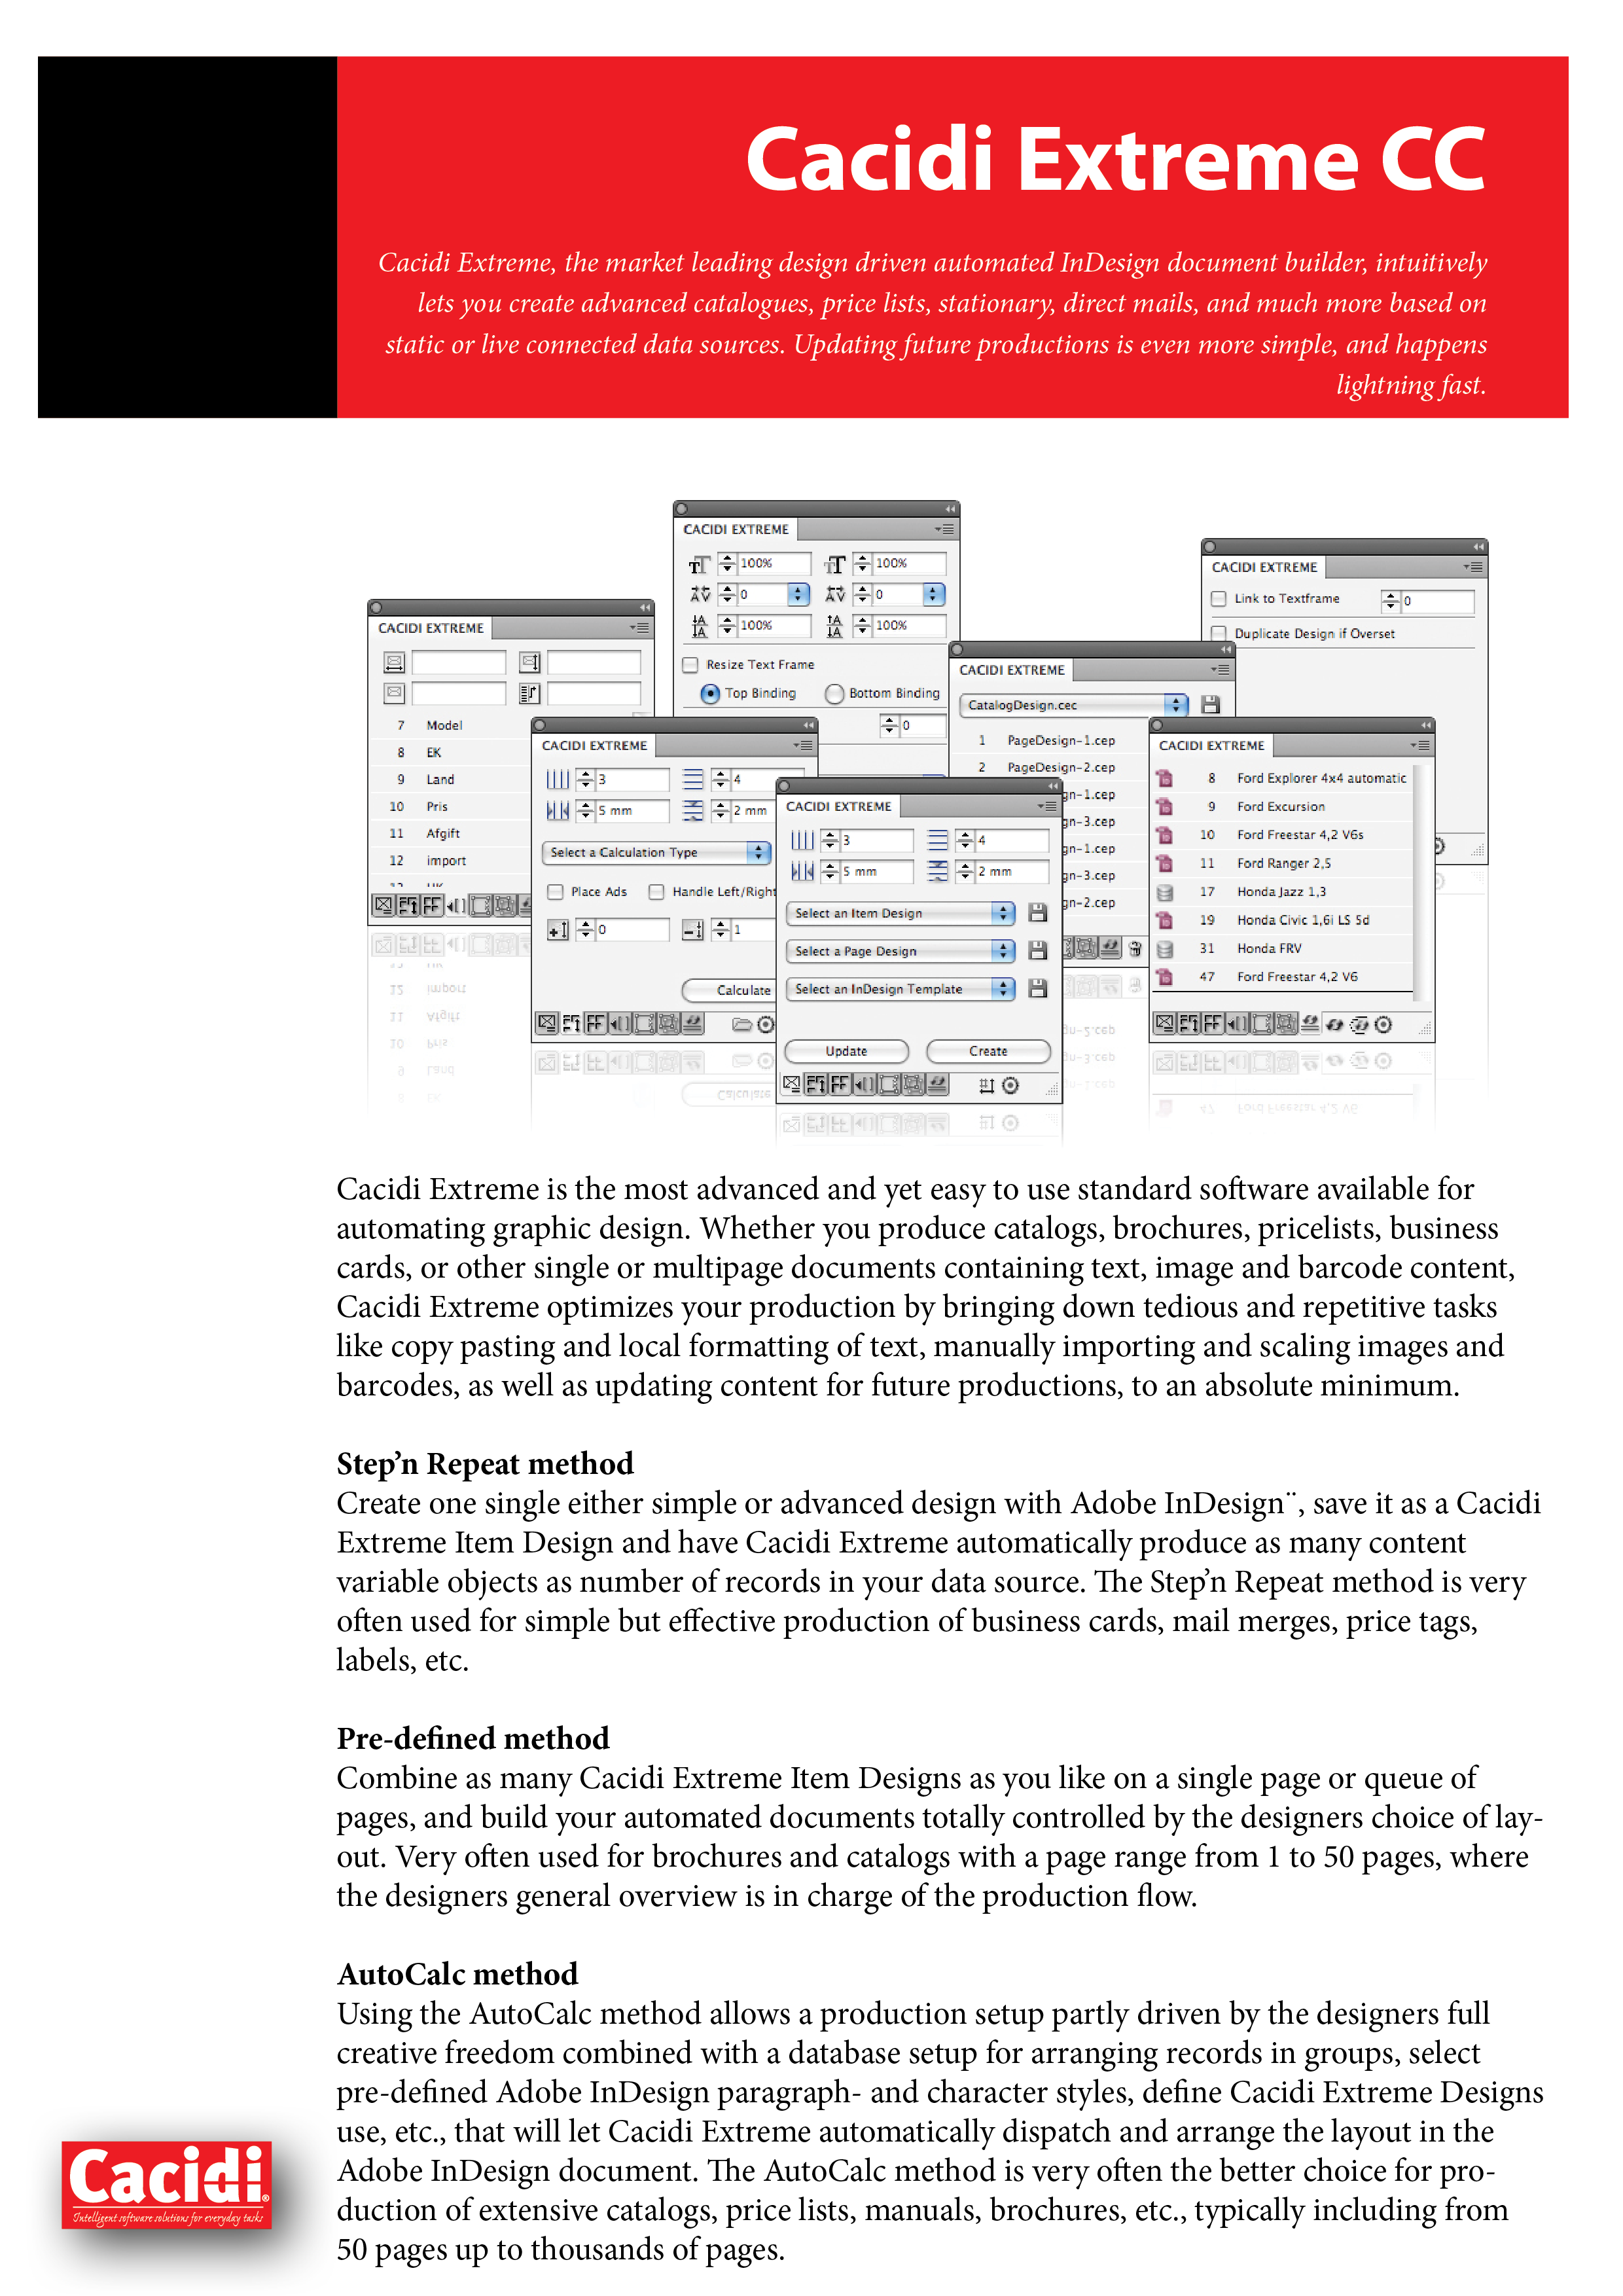
A simpel project for creating flyers, the template are include as well as designs and data. The purpose are to include a very simple project for trying to create, modify designs and to create pre-defined page design.
Steps to run the job:
1) Change the Project to 5-Flyer in the Extreme/LiveMerge palette flyout menu
2) Open the Flyer.indd, In Extreme use the “Select an InDesign Template” popup menu
3) Setup a grid on the page, using Extreme grid 1 columns, 1 rows.
4) Create a Step ‘n Repeat job by choosing the “Flyer.idms” design in the “Select an Item Design” popup menu.
5) Press the “Create” button.
.. Next step? Create your own Designs
6-HardwareStore
The Hardware store is a full campaign paper, 12-pages, ready for nursing.
1) Change the Project to 6-HardwareStore in the Extreme/LiveMerge palette flyout menu
2) Open the HardwareStore.indd, In Extreme use the “Select an InDesign Template” popup menu
3) Select the HardwareStoreCat.cec in the “Select a Page Design” popup menu
4) Press the “Create” button.
.. Next step? Try to create your own page flow by changing the page order in the PageQueing panel (bottom icon three)
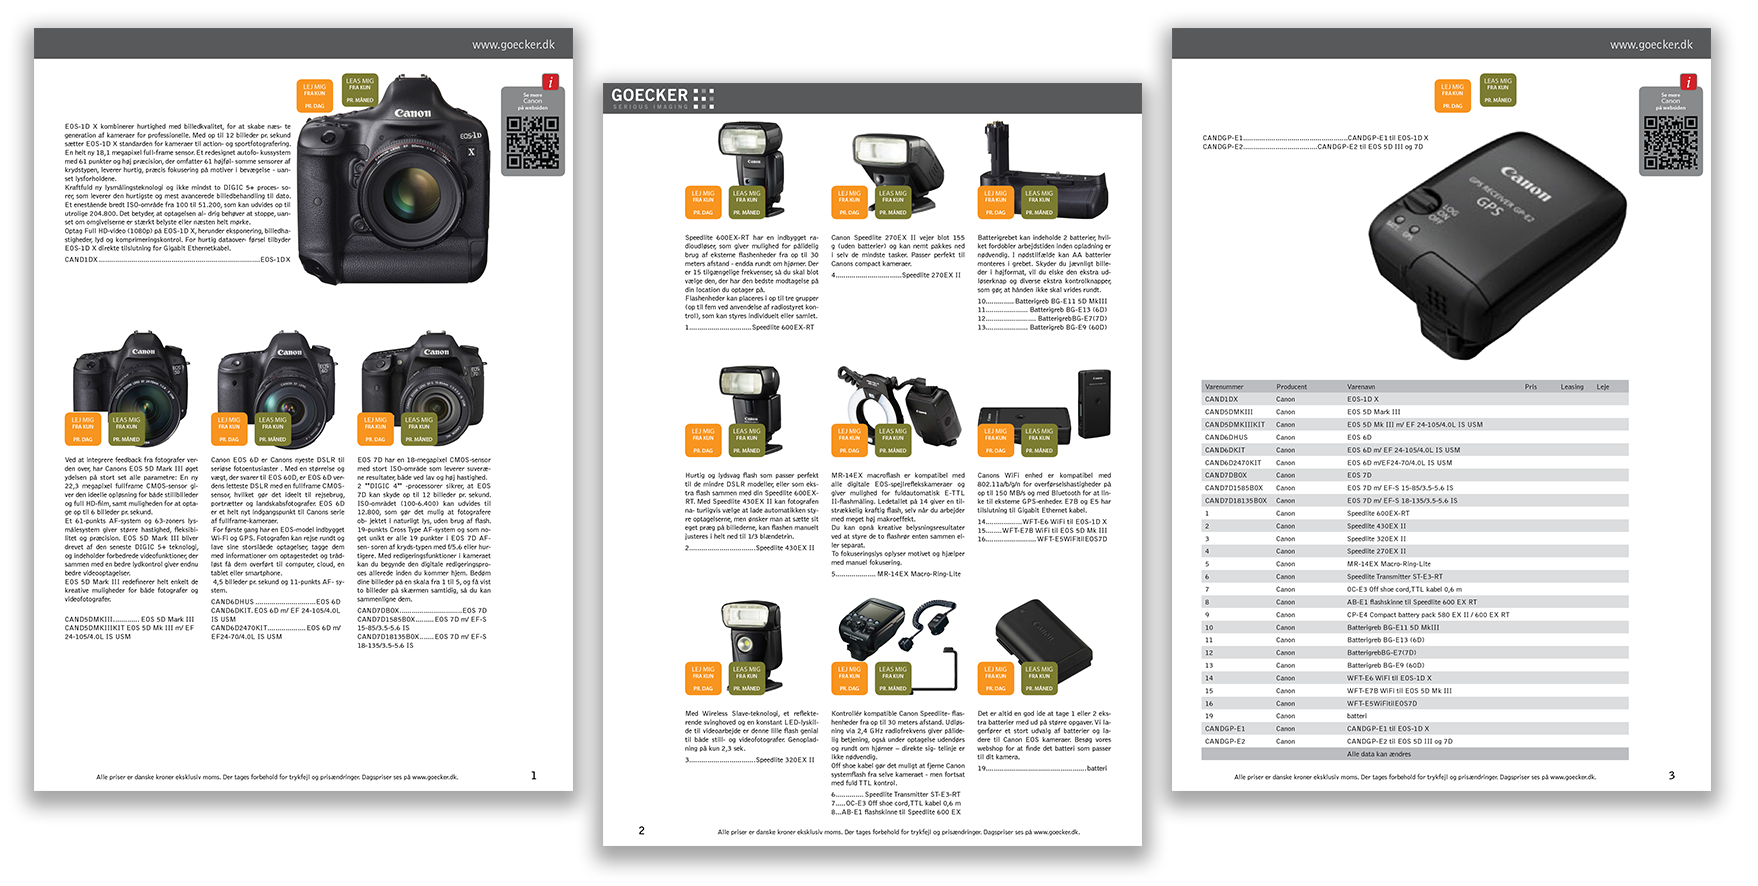 7-CameraStore
The CameraStore demo, are a two-fold demo.. one using a predefined setup and one using group data, and drag and drop from LiveMerge.. The purpose of this demo is to show, that two different production methods can be combined, and the drag from LiveMerge is using the curly bracket grouping function.
Steps to run the job:
1) Change the Project to 7-CameraStore in the Extreme/LiveMerge palette flyout menu
2) Open the CameraStore.indd, In Extreme use the “Select an InDesign Template” popup menu
3) Select the Katalog.cec in the “Select a Page Design” popup menu
4) Press the “Create” button.
Now navigate to the last page in the document, and be ready to the second part of the demo
1) Change the Project to 7-CameraStore-List in the Extreme/LiveMerge palette flyout menu
2) Open the LiveMerge panel
3) Select the only record available, and drag the Line.idms design to the page.
8-Blisterpack
The Blisterpack project purpose is to show how Cacidi BarCodes can be used in conjunction with Extreme/LiveMerge.
Steps to run the job:
1) Change the Project to 8-Blisterpack in the Extreme/LiveMerge palette flyout menu
2) Open the Blisterpack.indd document
3) Setup a grid on the page, using Extreme grid 2 columns, 2 rows, 14mm gutter between.
4) Select the Blisterpack.idms in the “Select an Item Design” popup menu
5) Press the “Create” button.
9-Cars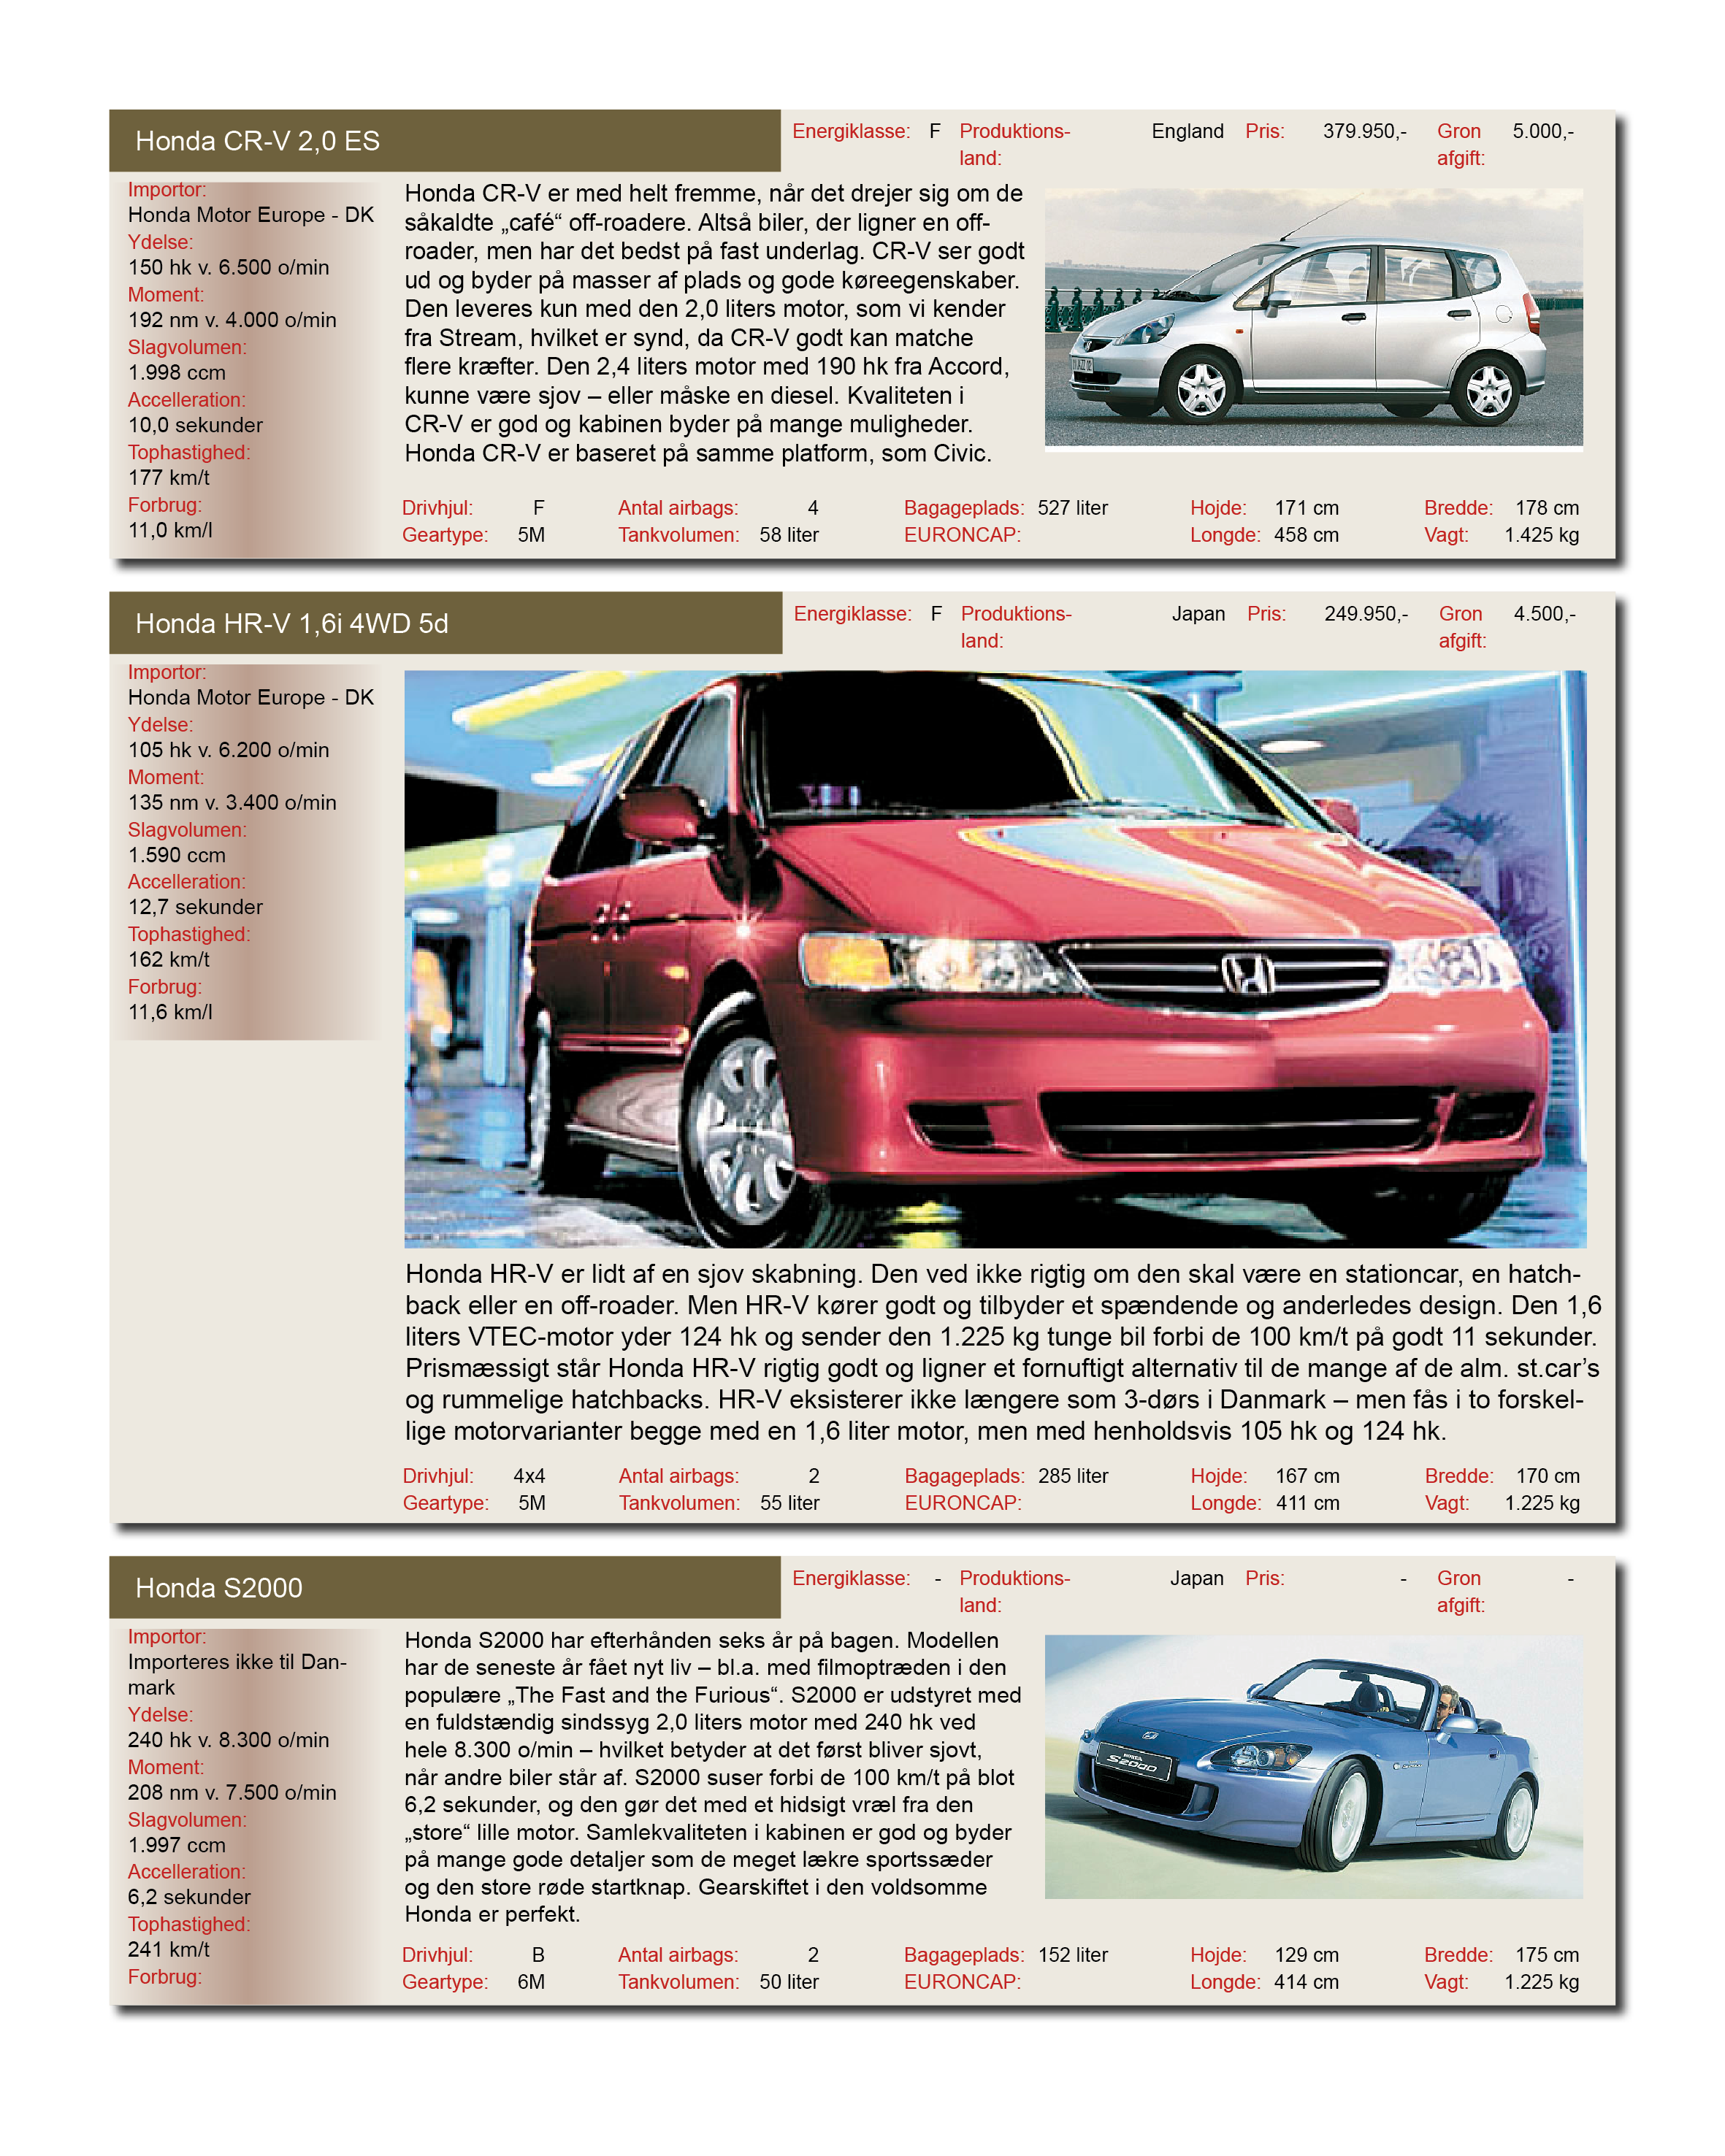
The Cars demo show how to have designs attached inline in a running text frame using the “Measured Placement Inline” calculation style.
Steps to run the job:
1) Change the Project to 9-Cars in the Extreme/LiveMerge palette flyout menu
2) Open the Cars.indd document
3) Navigate to the AutoCalc functions in the Extreme palette (Click the second bottom icon)
4) Choose the “Car MeasurePlacementInline.cac” in the “Select a Calculation Type” popup menu
5) Press the “Calculate” button
.. Next step? Try the “Car MeasurePlacement.cac” instead
10-Funiture
The purpose of this project are mainly to show how to group data, and make a variation list in a table
Steps to run the job:
1) Change the Project to 10-Funiture in the Extreme/LiveMerge palette flyout menu
2) Inspect how the “Group Field” popup and the information in the “Loop Field” is setup
3) Open the Funiture.indd document
4) Navigate to the AutoCalc functions in the Extreme palette (Click the second bottom icon)
5) Choose the “MP Calc.cac” in the “Select a Calculation Type” popup menu
6) Press the “Calculate” button
11-Camping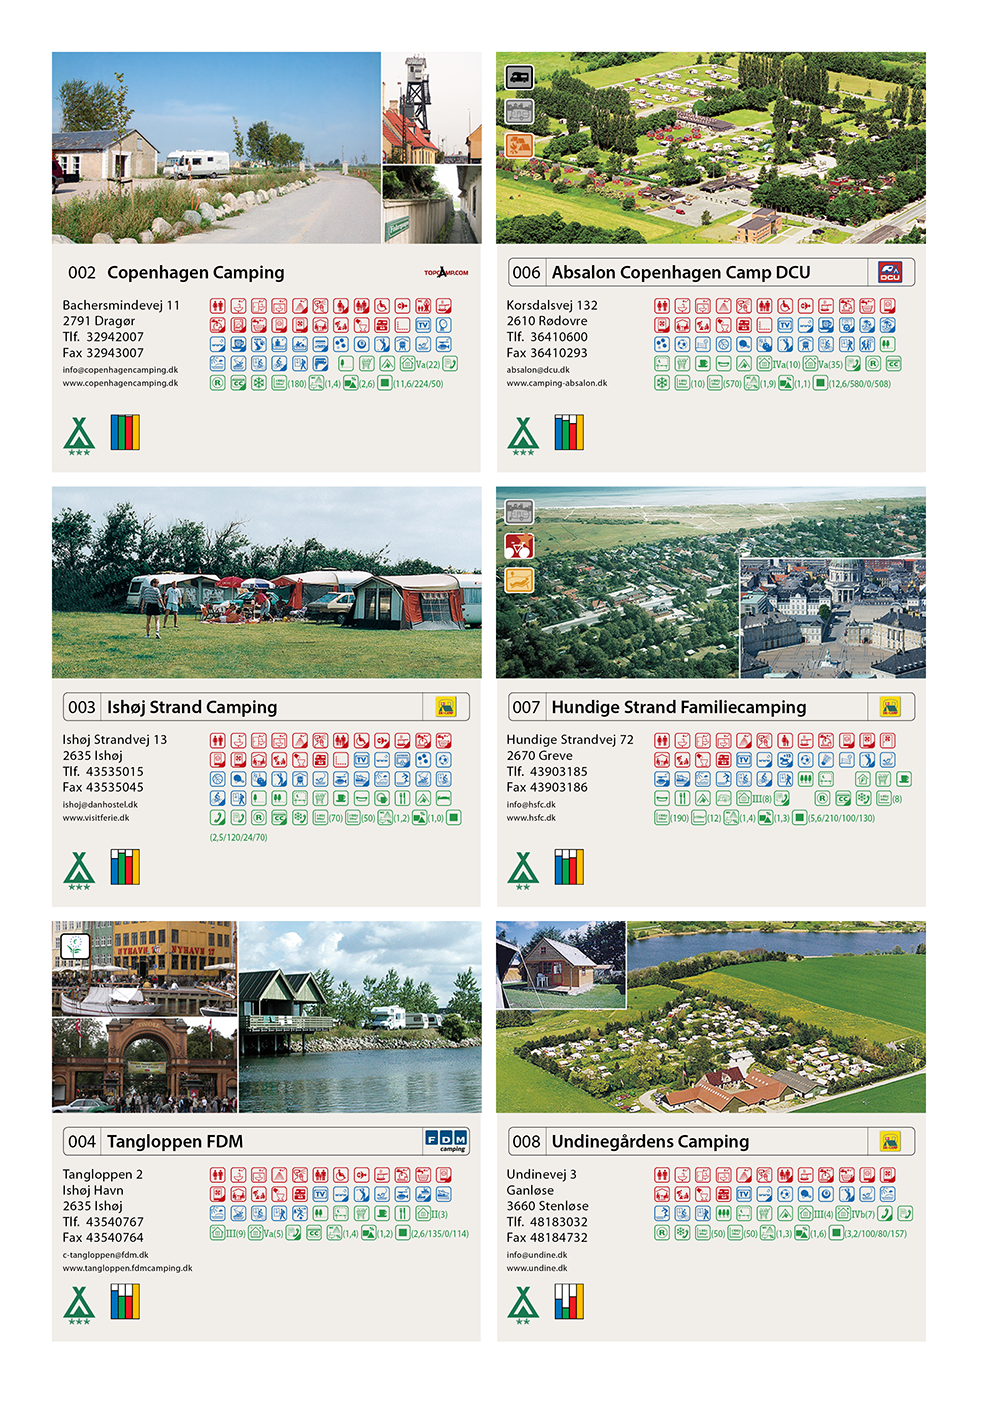
A simpel project for Using Step and Repeat. A job with special fonts for a lot of different symbols. The Word Styling file is also used..
Steps to run the job:
1) Change the Project to 11-Camping in the Extreme/LiveMerge palette flyout menu
2) Open the Camping.indd, In Extreme use the “Select an InDesign Template” popup menu
3) Setup a grid on the page, using Extreme grid 2 columns, 3 rows, 4mm gutter.
4) Create a Step ‘n Repeat job by choosing the “Camping.idms” design in the “Select an Item Design” popup menu.
5) Press the “Create” button.
12-Market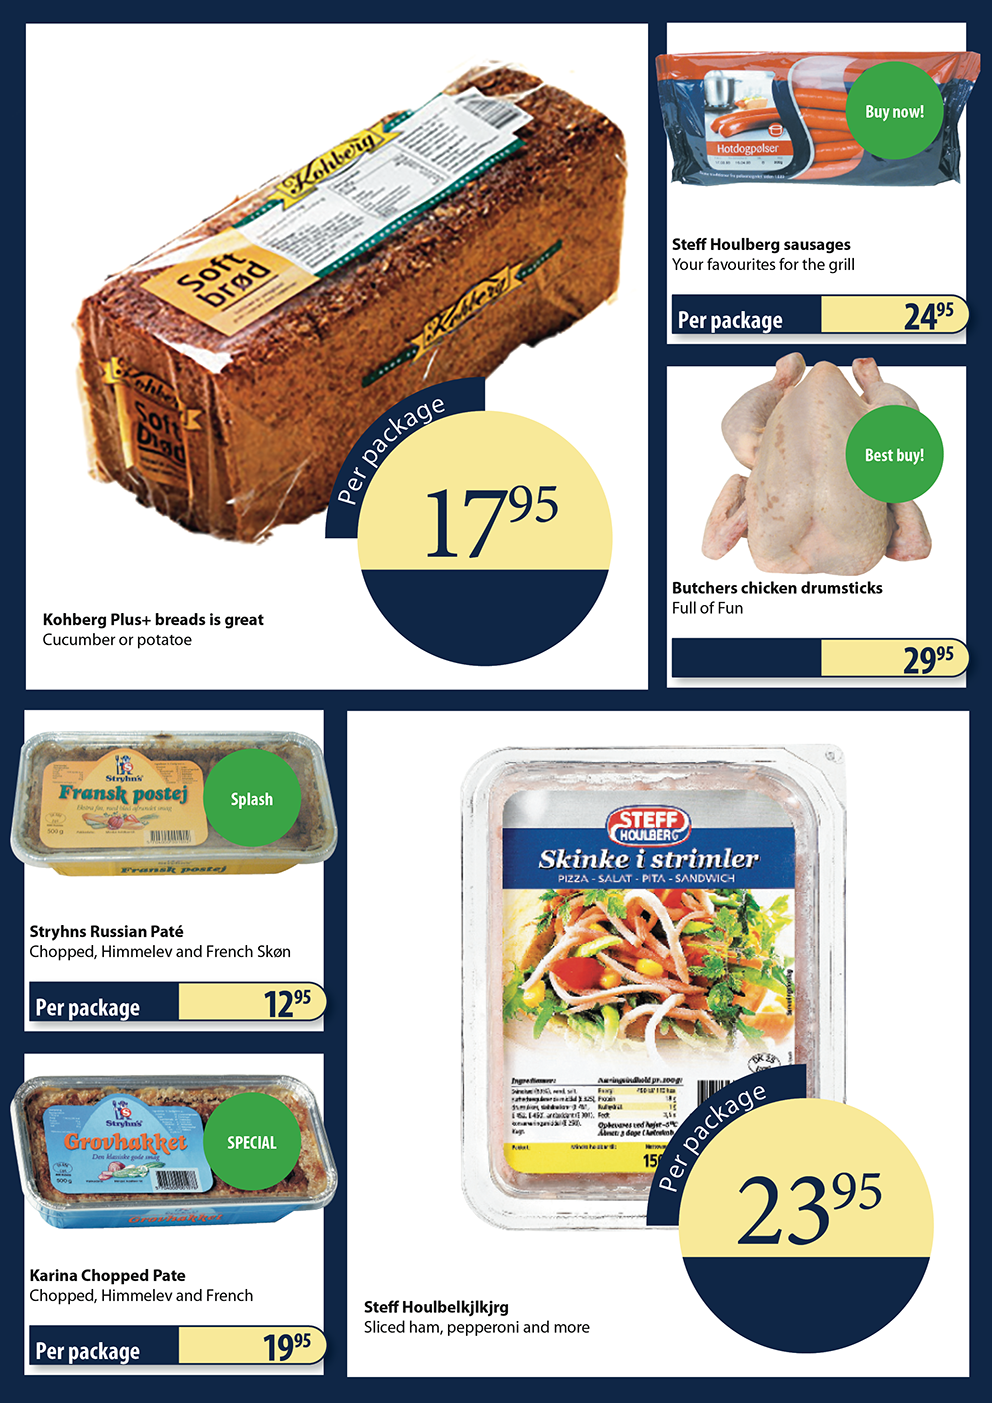
The Market demo shows a simpel way of creating a small grocery campaign paper, using Page Designs
Steps to run the job:
1) Change the Project to 12-Market in the Extreme/LiveMerge palette flyout menu
2) Open the Market.indd, In Extreme use the “Select an InDesign Template” popup menu
3) Select the PDKAT.cec in the “Select a Page Design” popup menu
4) Press the “Create” button.
.. Next step? Inspect how the catalogue is created using the Page Queing panel (bottom icon number three)
13-Fruits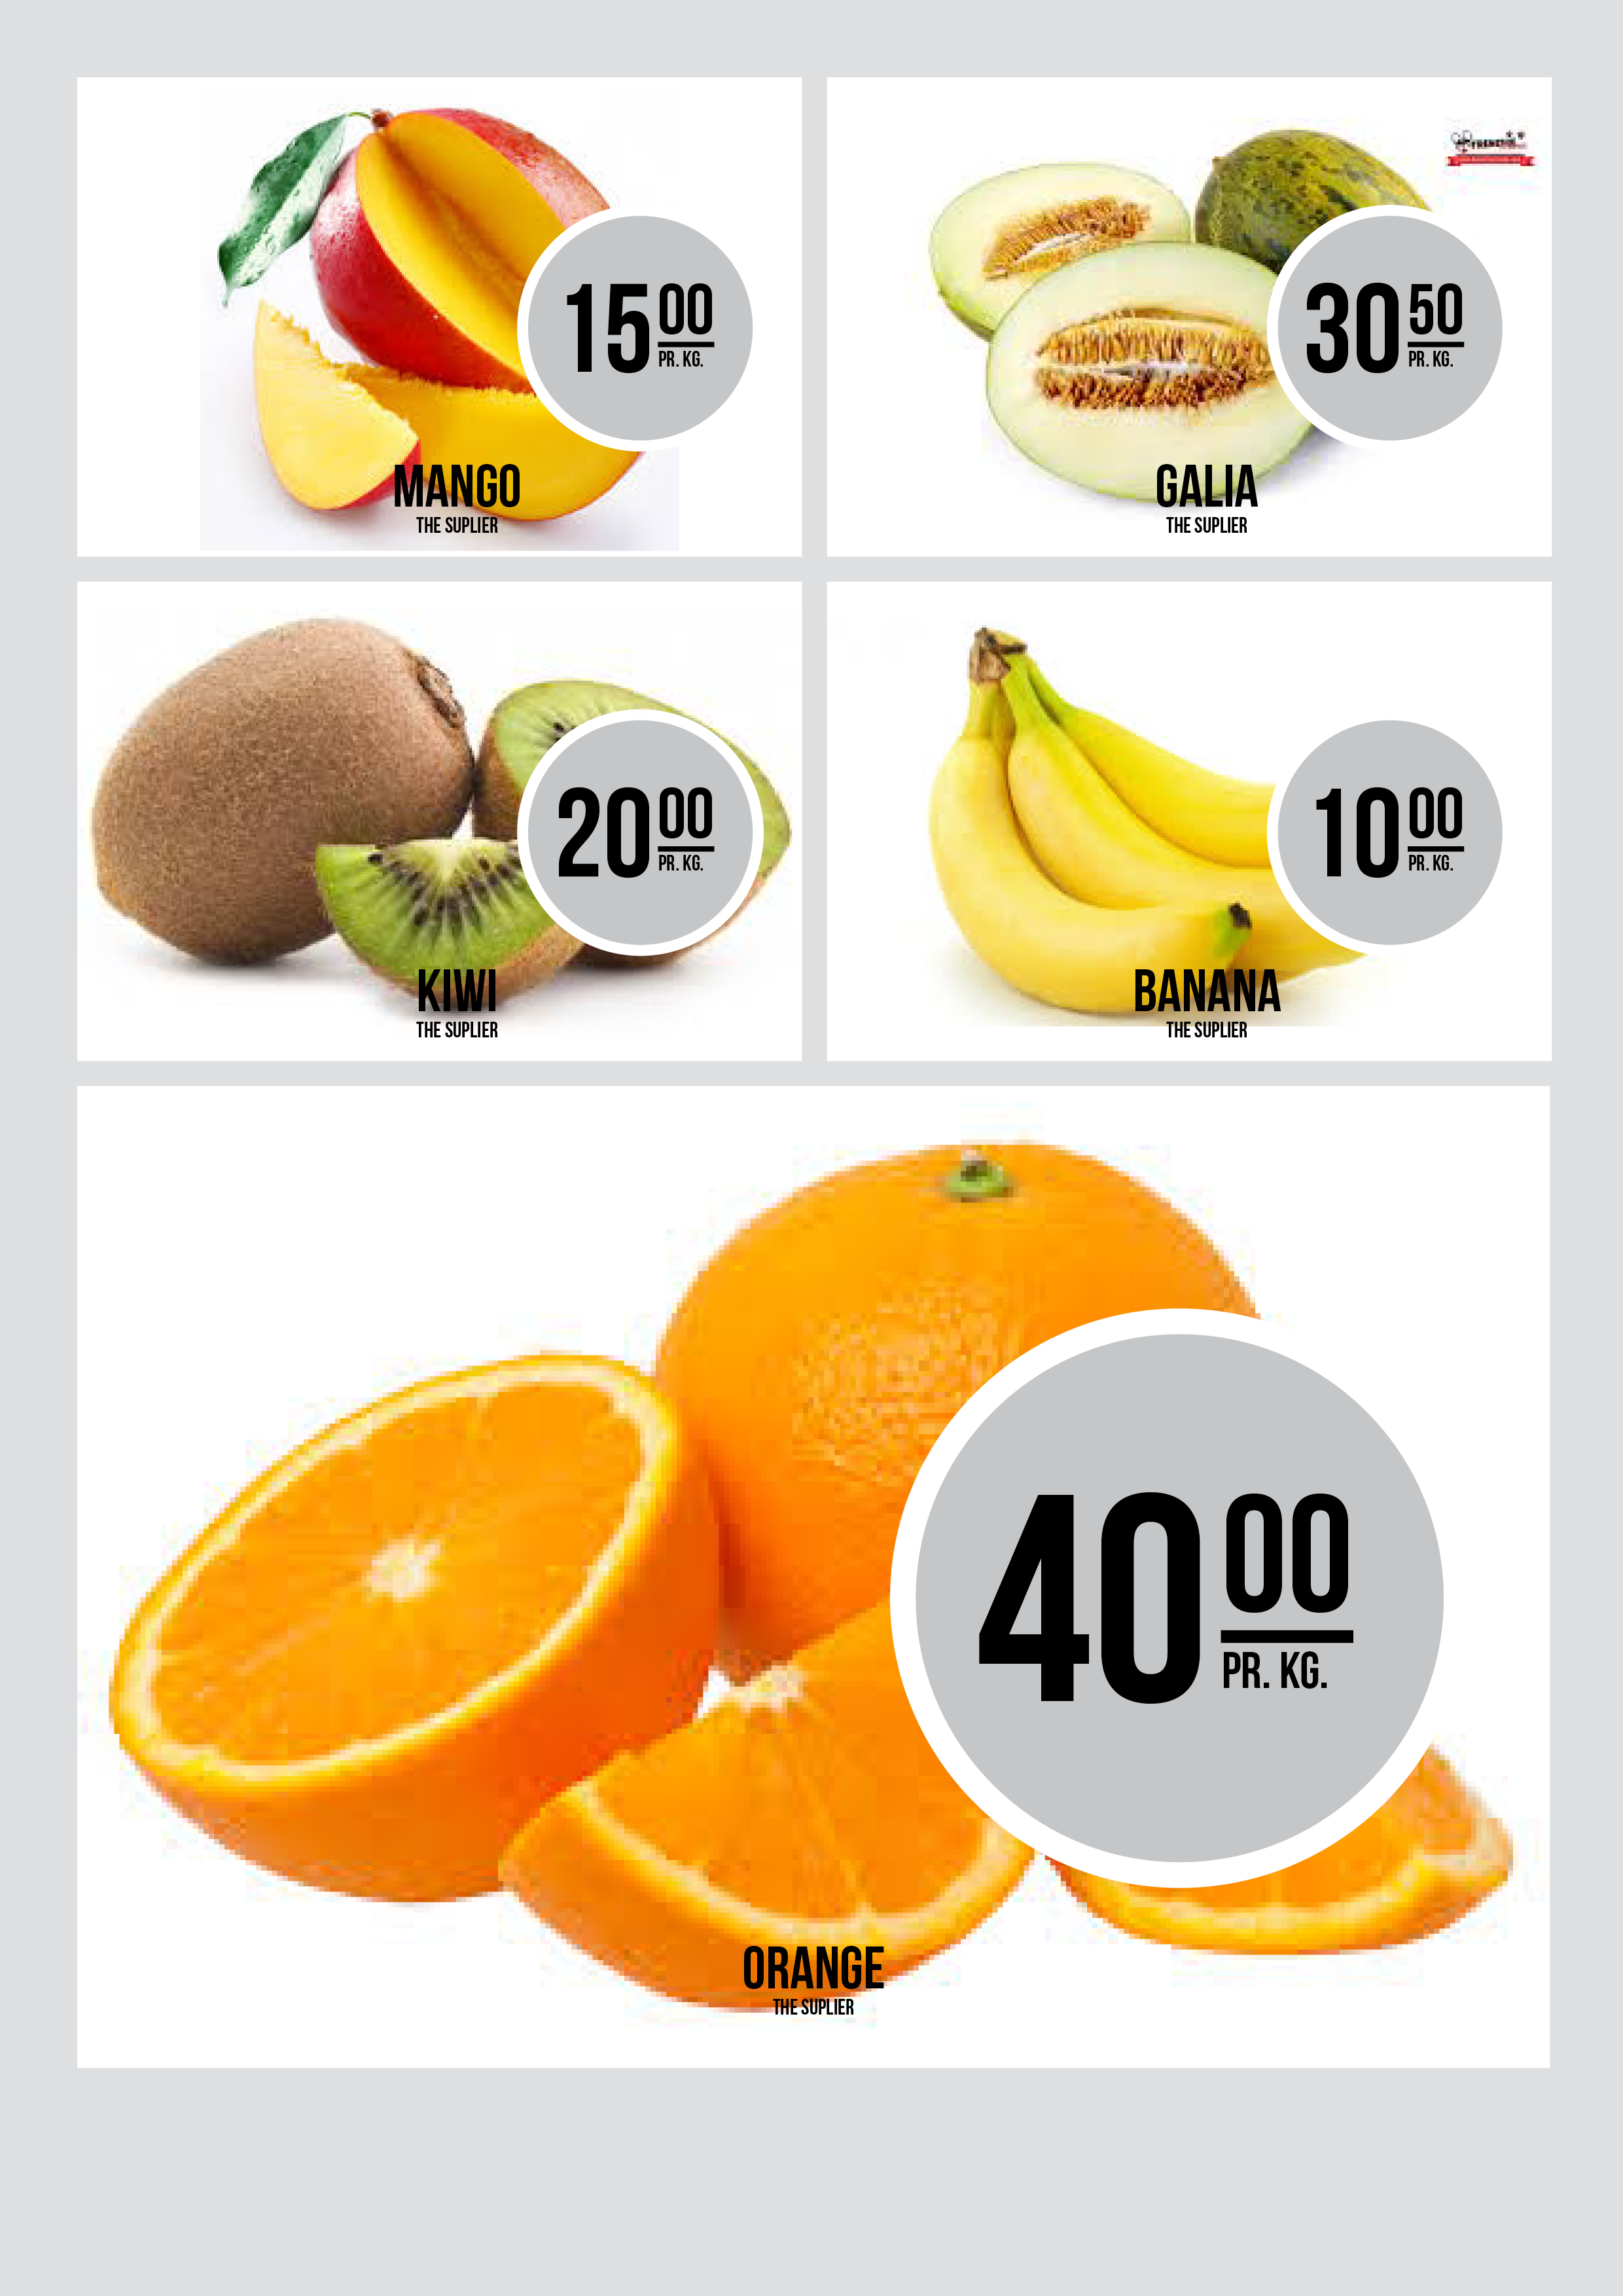
The Fruits project should show you how to create a design, feel free to insert merge markers in the “start.idms” design..
Steps to run the job:
1) Change the Project to 13-Fruits in the Extreme/LiveMerge palette flyout menu
2) Open the FruitsStart.indd, In Extreme use the “Select an InDesign Template” popup menu
3) Select the A_PageType.cep (or create your own page design) in the “Select a Page Design” popup menu
4) Press the “Create” button.
 14-Calzone
The Calzone project are the most advanced project in the tutorial package.. It’s utilize, a wordstyling file, a prescript javascript to calculate which page design should be used (depending on the number of items in the page).
1) Change the Project to 14-Calzone in the Extreme/LiveMerge palette flyout menu
2) Inspect how the “Pre Script” file is in use in the project
3) Open the Calzone.indd document
4) Navigate to the AutoCalc functions in the Extreme palette (Click the second bottom icon)
5) Choose the “Calzone Calc.cac” in the “Select a Calculation Type” popup menu
6) Press the “Calculate” button
15-Pricelist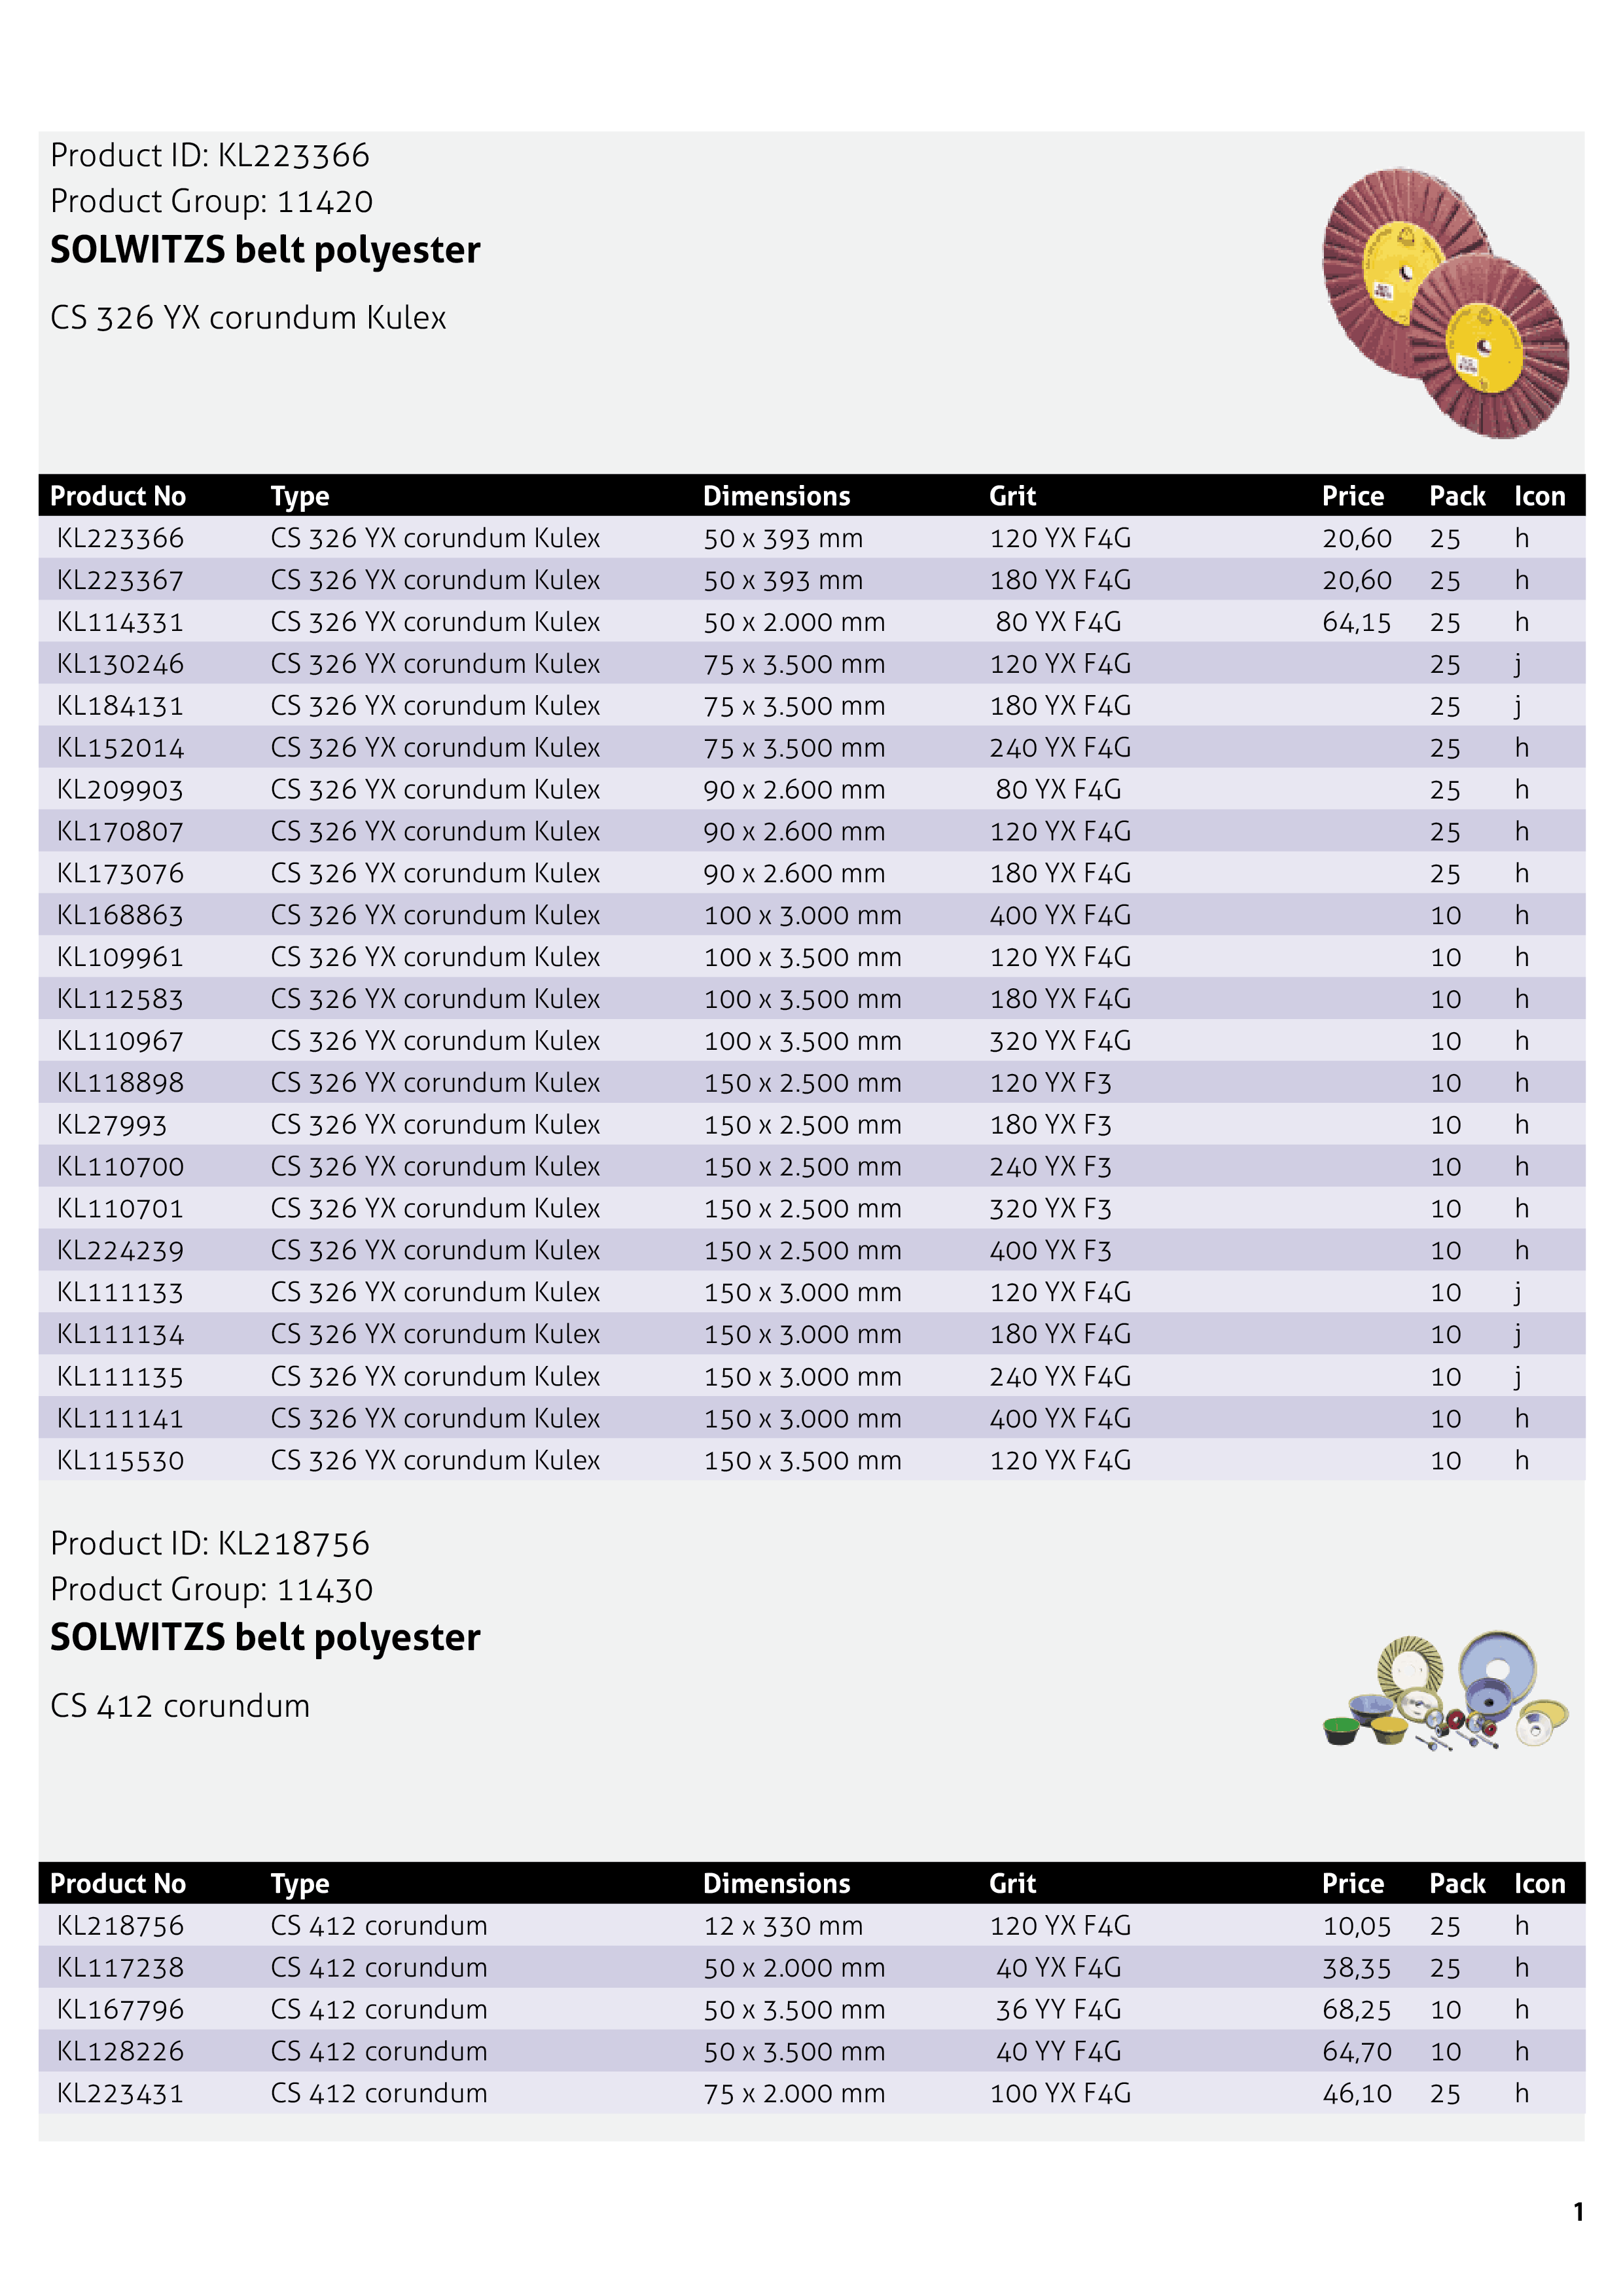
The purpose of this project are mainly to show how to group data, and make a variation list in a table
Steps to run the job:
1) Change the Project to 15-Pricelist in the Extreme/LiveMerge palette flyout menu
2) Inspect how the “Group Field” popup and the information in the “Loop Field” is setup
3) Open the Pricelist.indd document
4) Navigate to the AutoCalc functions in the Extreme palette (Click the second bottom icon)
5) Choose the “PriceListTable.cac” in the “Select a Calculation Type” popup menu
6) Press the “Calculate” button
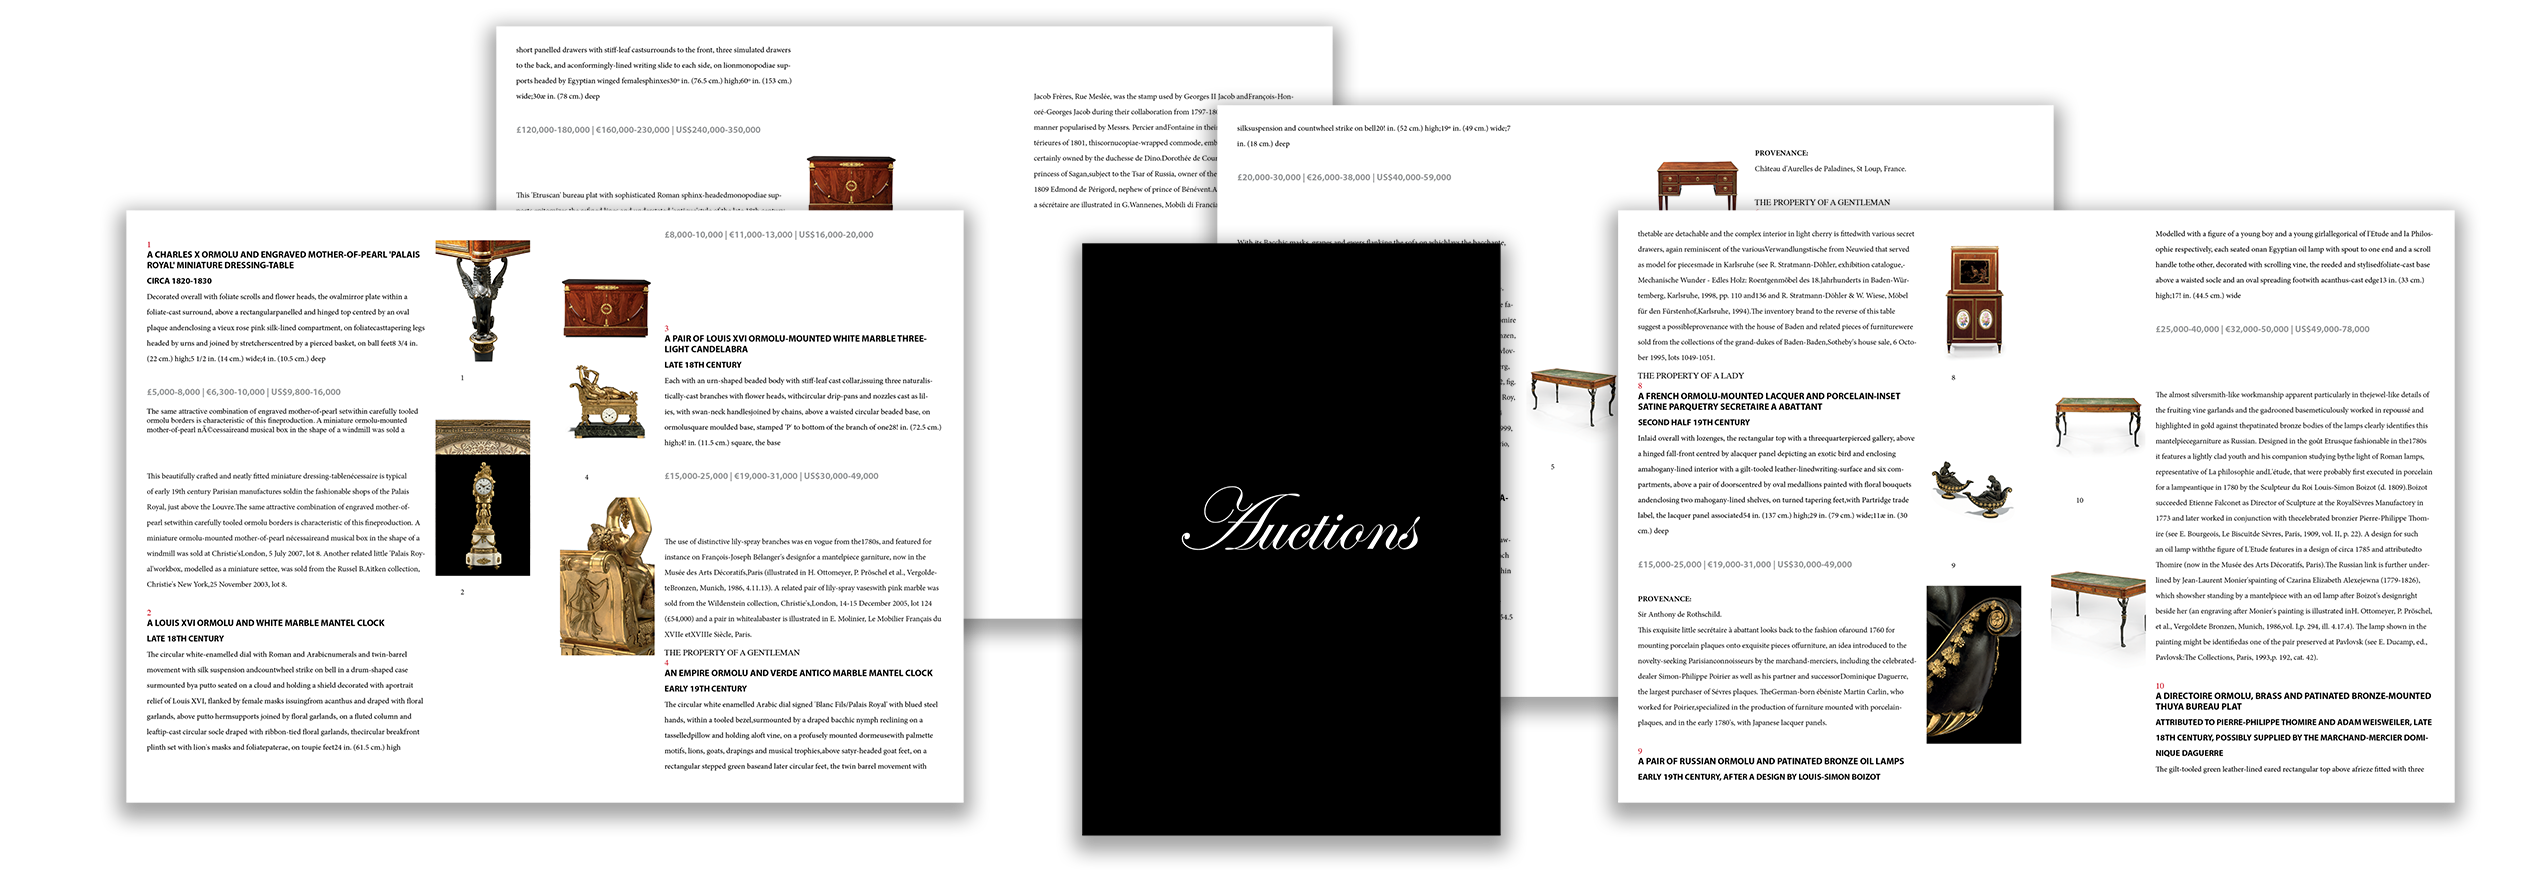
16-Auctions
1) Change the Project to 16-Auctions in the Extreme/LiveMerge palette flyout menu
3) Open the Auctions.indd document
4) Navigate to the AutoCalc functions in the Extreme palette (Click the second bottom icon)
5) Choose the “Auctions Proto.cac” in the “Select a Calculation Type” popup menu
6) Press the “Calculate” button
17-Directory
The purpose of this project are mainly to show how to group data, and using the Prototype calculation method
Steps to run the job:
1) Change the Project to 17-Directory in the Extreme/LiveMerge palette flyout menu
2) Inspect how the “Group Field” popup and the information in the “Loop Field” is setup
3) Open the Directory.indd document
4) Navigate to the AutoCalc functions in the Extreme palette (Click the second bottom icon)
5) Choose the “Directory Proto.cac” in the “Select a Calculation Type” popup menu
6) Press the “Calculate” button
Images used in tutorial files are the copyright the copyright owners.. We don’t take owner ship of any of the images.