Edit SQL Records
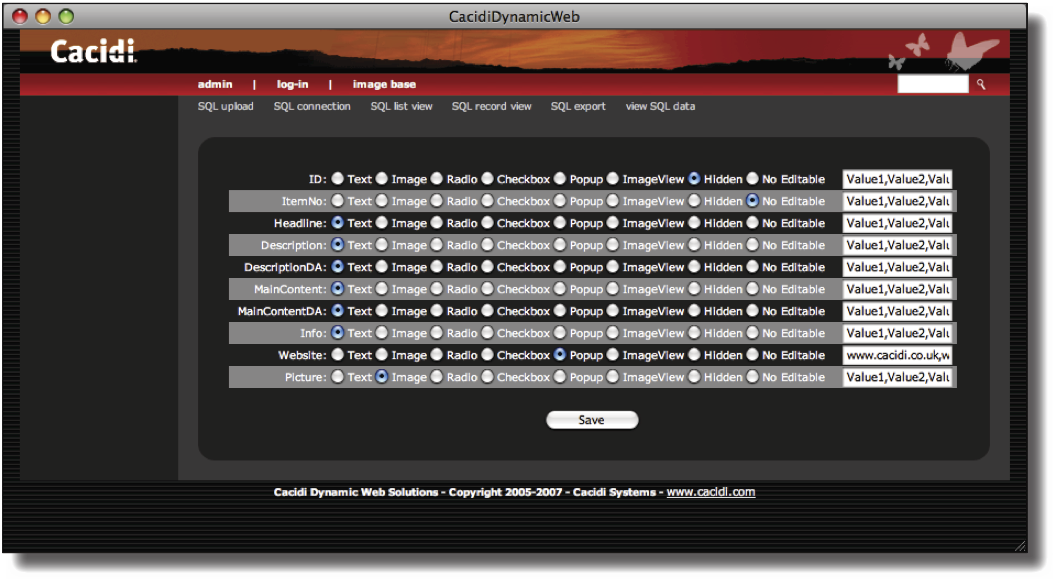
Before viewing or editing a SQL record from a data table, you will first want to specify how each data field from the table should be represented to the user for editing and viewing.
SQL record view
Click the SQL record view button in the SQL menu bar to get access to the SQL record view window.
All the data fields from the data table is shown in a list. As default, all fields are set to the Text option (the first radio button). The possible view options for each field are as follows:
Text: Presents the content as editable text in a text field
Image: Presents the content as an image which can be replaced by any image in the Image Base for the current client group. The actual information stored in the data field will be the path and name to the selected image.
Radio: Presents the content as a number of options selectable by radio buttons.
Checkbox: Presents the content as a number of options selectable by checkboxes.
Popup: Presents the content as a number of options selectable by a popup menu.
ImageView: Presents the content as an actual image that is not editable. Only use this option if the contents of the data field is an actual Image Blob.
Hidden: Hides the data field and its content from the user.
Non Editable: Presents the content as static non-editable text.
Value options
When using any of the three option-select data presentations (Radio, Checkbox or Popup), the available options should be entered in the appropriate Value field at the right of the data field line in the SQL record view window.
Each option should be entered separated by a comma, like in the example on the previous page (www.cacidi.co.uk,www.cacidi.com,www.cacidi.dk) for the Website data field allowing the user to choose between one of the three options represented, in this case, by a popup menu.
Loop-up in other Data tables
Optionally, instead of entering the options for the value fields manually, you can have the value field picking its options from a separate data table, presenting the user with the actual contects of the table to choose from.
Enable this feature by entering the following code directly into the desired value field in the SQL record view window:
[TABLE:name_of_table:data_field]
name_of_table: The name of the MySQL data table where in to perform the look-up. Note, that this table can only exist within then same data base as the SQL record view are pointing at.
data_field: The name of the data field (from the chosen table) to be listed.
Provide a list based on Item Designs (.imds files)
As another option, you can have LiveEditor list all Item Designs published into the client group using Cacidi Extreme as a pop-up menu for the user to choose from. Such Item Designs are placed within the Jobs Folder in the current client group.
To enable this feature, enter the following code directly into the desired value field in the SQL record view window:
[ItemDesign]
Additionally, if your data base has one data field named Height and another named Width Cacidi LiveEditor will automatically enter the height and width of the selected Item Design into these fields for the current data record.
This feature is paramount for maintaining a data base for catalogue production using Cacidi Extreme.
When all options are set as desired, click Save to save the SQL record view set-up.
Editing or previewing a SQL record
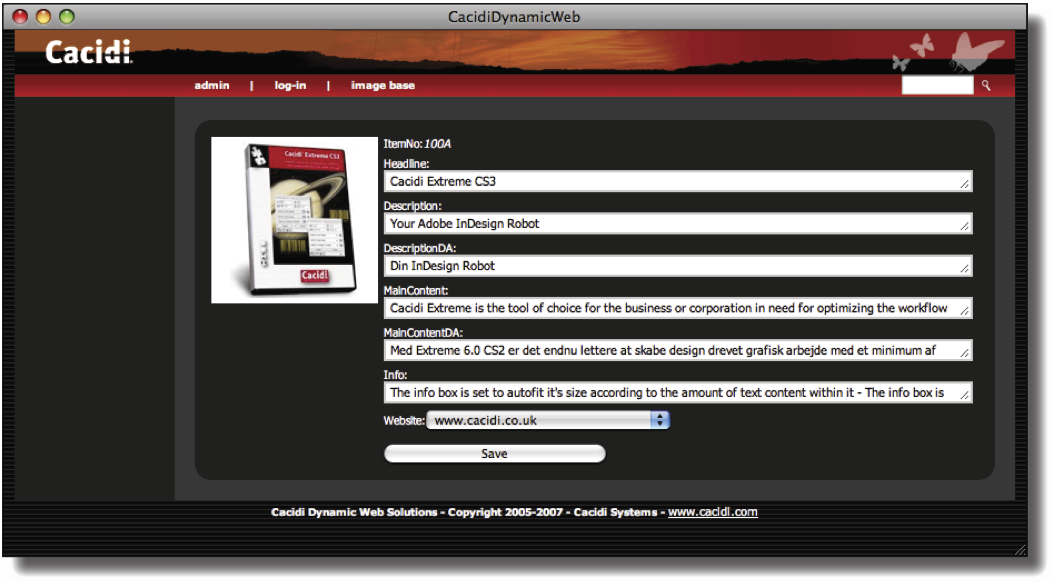
To edit or preview the whole contents of a SQL record, click view SQL data to get the contents from the data table. Next locate the desired record to view or edit and click on the edit button next to the desired record.
In the Edit Record window above you will have access to the various fields and their representation as defined by the SQL record view.
Notice how the image in the picture above is shown as an actual image and that the Website field is being represented by a popup menu.
Setting or chancing an image
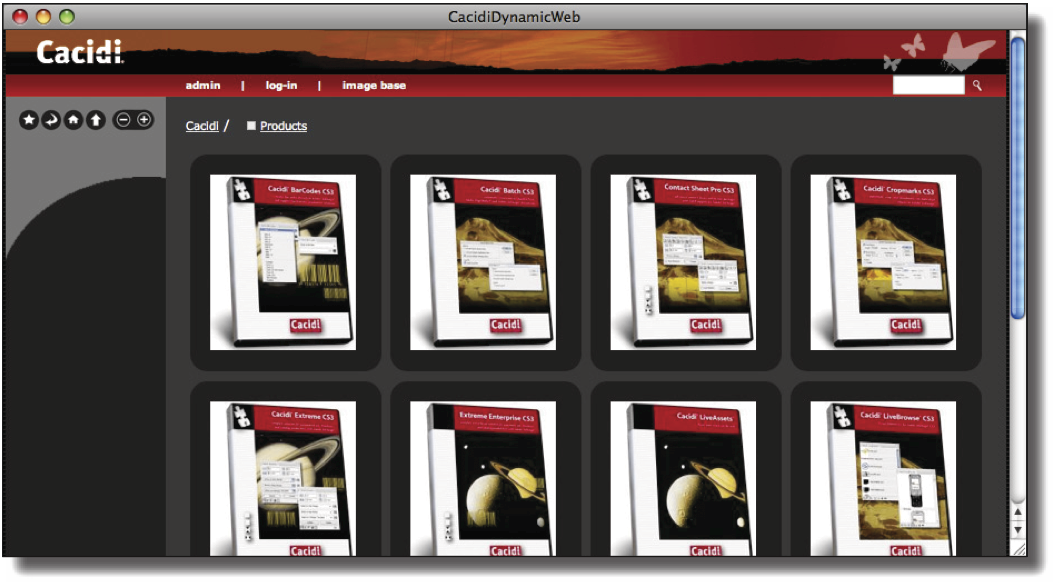
If one or more the data fields are being represented as an image in the SQL record view setting, you can click on one of these images to go to the Image base part of Cacidi LiveEditor:
Navigate to and clicking on the desired image to be used will return you to the Record view window replacing the image.
For more information on the Image base,.
Any changes made to the record are saved by clicking the Save button which will return you to the view SQL data window.
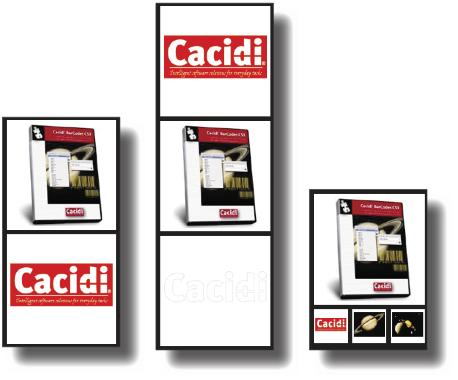
Layout of more images in the Record view
If the SQL record view are set up with more than one image field, the layout in the Record view window will change accordingly.


