Publish Item Designs
An item design is a collection of text, image and merge fields created within Adobe InDesign using either Cacidi Extreme or Cacidi LiveMerge . Each item may have its own unique design and an item will often correspond to a database entry. See “What is an Item Design?” in the Cacidi Extreme User manual for additional information on creating Item Designs.
Item Designs available in a project within Cacidi Extreme can be published to the Cacidi Dynamic Web server where it will be available to a specific client group. The InDesign Template document that the Item Design has been created on can be published as well allowing a user logged into Cacidi Dynamic Web to produce Item Designs on the correct template page.
To publish an Item Design, you should first open the Cacidi Extreme panel and select the right Extreme Project from the fly-out menu. Then, from the Basic panel, open a template and select the Item Design to be published from the topmost pop-up menu.
Verify that the correct Item Design has been placed onto the template page in the the correct position. If changes are to be made, make these now before publishing the Item Design. If you make any changes to an Item Design after having published it, you will have to publish the Item Design once again for the changes to take effect. The previous published Design will then be replaced with the new.
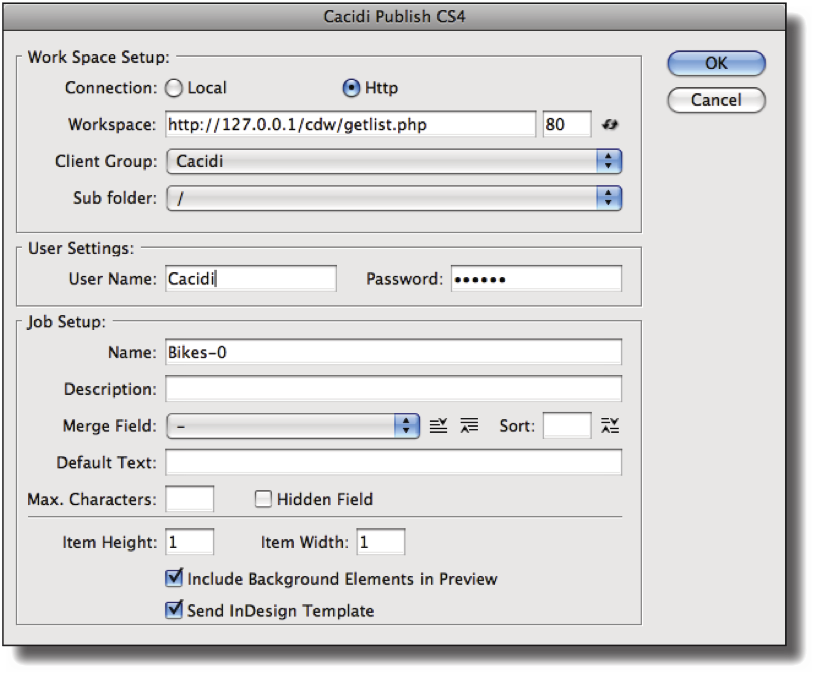
To publish the Item Design, choose the Cacidi Publish… menu option from the File menu within Adobe InDesign to open up the Cacidi Publish Window.
Work Space Setup:
Specify the Cacidi Dynamic Web server to publish to as well as the client group in the Work Space Setup in the Cacidi Publish window.
Connection: Specify whether you connect to the Cacidi Dynamic Web server via a local connection or via an Internet connection using HTTP.
Workspace: Selecting Local as the connection type will allow you to navigate to the GROUPS folder which can be on any computer accessible within your local area network (LAN). Selecting HTTP as the conenction type will require you to specify the HTTP address for the Cacidi Dynamic Web server or, more specifically, the address to the getlist.php document that is reciding within the Cacidi Dynamic Web server folder on the server computer. For a HTTP connection, you should also specify a port number, typically port 80.
Client Group: Having specified the correct connection details above, press the refresh button to load the client groups and sub groups available in the server connected to. If you are connecting through a local connection, this pop-up menu will show all client groups on the server. Using a HTTP connection, you will have to specify a user name and password where after the pop-up menu will show the client groups available to that user.
Select the Client group that you will publish the Item Design to from this menu.
Sub folder: Having selected a client group above, select a Sub folder within that client group to publish the Item Design into. Sub folders are created within the Cacidi Dynamic Web interface.
User Settings
Specify a username and password for an existing user to get access to the right client group before publishing the Item Design. User Settings have no effect on local connections (see above).
Job Setup
In the Job Setup section, you can specify additional information for the published Item Design such as pre-set text in the various merge fields, sort the fields etc.
Name: The name of the Item Design will be entered in this field. If you want another name for the design, specify it here.
Description: Enter a descriptive text for the Item Design. The description will be shown as a pop-up windows in Cacidi Dynamic Web when a user hovers the mouse over an Item Design.
Merge Field: All merge fields from the Item Design are listed in this pop-up menu. Text merge fields are listed at the top and image merge fields are listed at the bottom.
Selecting a Merge Field from this list will let you enter additional information such as Default Text, Max Characters etc. as well as specify the sort order of the selected field (see below).
Sort order: Sort the merge fields from top to bottom or in reverse by clicking one of the two sorting buttons.
Specific Sort: Select a merge fields from the pop-up menu and specify an Alpha-Numeric value in the Sort field. The merge fields will then be sorted according to the specified values instead of the actual name of the merge field. For example, entering 1, 2, 3 for the second, third and first merge field in the list will sort the fields putting the second merge field at the top followed by the third and the first field.
Default Text: Select a merge field from the pop-up menu and enter a default text that will be shown in the Cacidi Dynamic Web Job Builder. Default text would typically be either a description on what kind of text this field should contain or it would be default text to be displayed if the user doesn't change it, like a web-address or main phone number.
Mac Characters: Select a merge field from the pop-up menu and specify the maximum number of characters the selected merge field will be allowed to contain when the user is entering text from the Job Builder.
Hidden Field: Specify whether the selected merge field should be hidden for the user in the Job Builder or not. If a merge field is hidden, the user cannot change its content and any Default text entered into this field will be displayed upon production.
Production specifications
Specify here certain conditions for the published Item Design such as height and width and background in preview.
Item Heigth / Item Width: As default this information is set to 1. Specify the correct height and width of the Item Design based on the Page Grid the design is to be build on. See “What is a Page Grid?” in the Cacidi Extreme user manual.
Include Background Elements in Preview: If your Item Design has no specified boundaries or your Item Design constitues of nothing but text frames where the graphical elements of the design are all reciding on the InDesign Template document, check this option. Doing so will take a snapshot of the Item Design including background elements from the Template document and use this as a preview for the Item Design in the Job Selector within Cacidi Dynamic Web. See the example below
Send InDesign Template: Check this option to copy the InDesign Template document onto the Cacidi Dynamic Web where it will be available for production. The template need only be published once but if any changes are made to it, it would have to be published again, overwriting the old copy.
Note, that the option to publish the InDesign template is only available for HTTP connections. When using a local connection, you should instead copy the InDesign template directly onto the servers TEMPLATES folder.
To publish the Item Design into the selected client group, click OK. Otherwise, click Cancel.
Example of the “Include Background Elements” option
Below is an example of the use of the Include Background Elements option when publishing an Item Design.
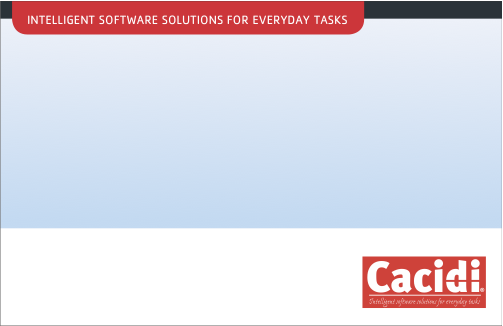
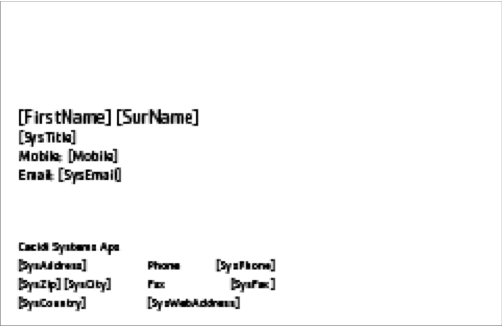
Above to the left is shown an InDesign Template for the Cacidi BusinessCards Item Design. To the right is shown the actual Item Design without the background of the Template.
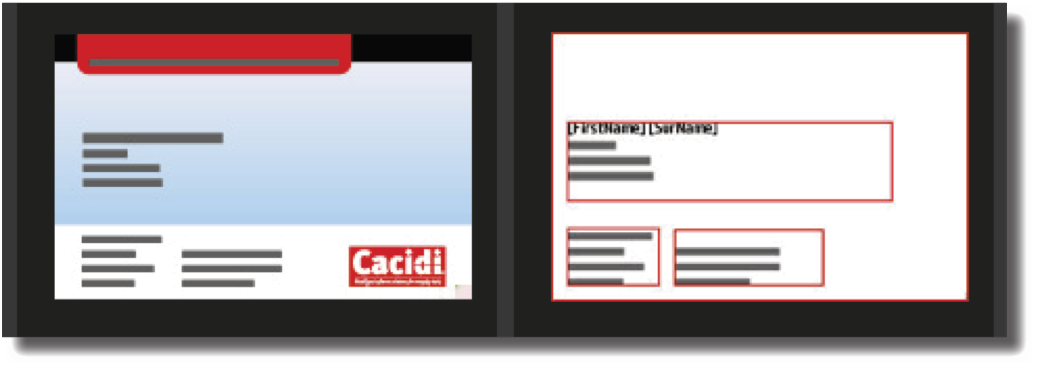
Where the Item Design to be published without the Include Background Elements option checked, the result in the Job Selector would look like the example to the right below. If the Item Design where published with the option checked, the result would look like the example to the left.
When using the Include Background Elements option your Item Design should contain an empty rectangle with no color or border that specifies the area to include when taking the snap shot of the background for the preview in Cacidi Dynamic Web.


