
In this lesson you will make a pre-defined page design including ads that flow into the automation process as semi-dynamic content.
The project
Start by selecting the project named ”02-Real Estate” in the Cacidi Extreme palette fly-out menu.
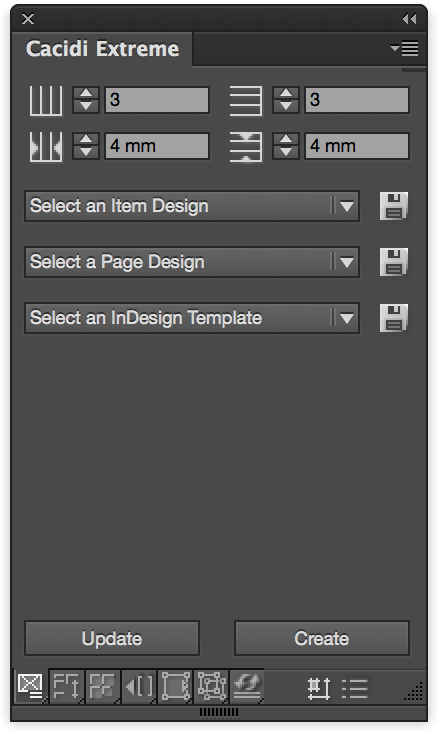
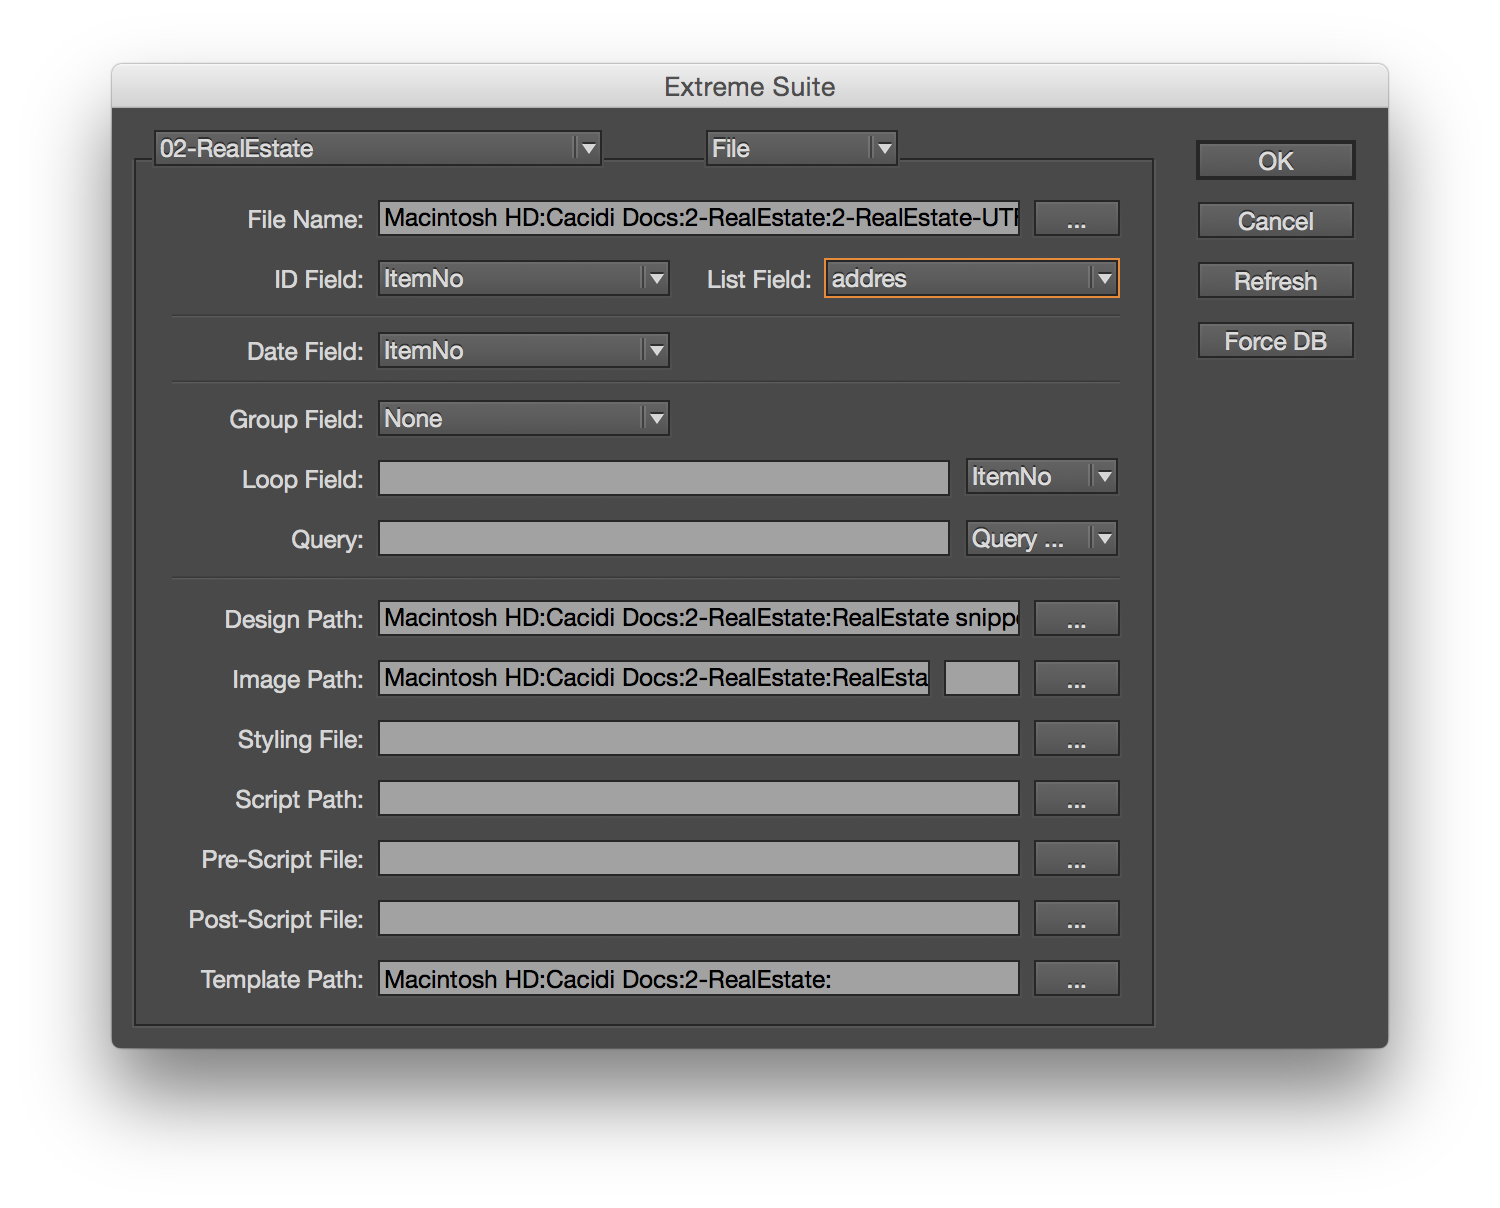 Next, open up the InDesign template named ”Real Estate.indd”. This document has a grid design of 6 by 4 tiles = 24 tiles to use for placement of real estate advertisements. Enter the grid in the row/columns and cutter area on the top of the Basic panel.
The Item Designs
Select the ”RealEstateSingle” item design from the ”Select an Item Design” menu in the ”Cacidi Extreme” palette. Spend a little time looking into how this Item Design is designed with Adobe InDesign’s built in tools.
Next, select the ”RealEstateDouble” item and investigate how this Item Design is set up.
As you see, one of the Item Designs fits one tile exactly, and the other one fits two tiles wide exactly.
Only these two item designs will be used for dynamically creating the full page real estate ad.
The Page Design
Make a new page design from the ”Select a Page Design” pop-up menu in the ”Cacidi Extreme” palette.
You should now see 24 green boxes aligned in your grid.
Next, it’s time to pre-define the real estate layout, so it ends up looking like the picture below. First you should assign item designs that will convert the boxes from green to blue, and next we look into the pink areas, that are about ”place-ads”, and which we haven’t discussed yet.
Assign the green boxes, so they match the figure to the left. In all the blue boxes upper left corners, you can check which item design is assigned to which box.
Note: Where a ”RealEstateDouble” item is assigned to a box, the box next to it is a green ”skip item” box. Since the ”RealEstateDouble” item design is 2 tiles wide, visually it’s easy to recognize with a green ”skip item” box next to it.
Place Ads (red areas)
The red areas are so called ”place-ad” spaces, allowing semi-dynamic ad content to be positioned in the document during the automation process.
When making the first ”place-ad” box, select the green box in the upper left corner and drag it till it fits two tiles vertically.
Then choose ”Ad” from the ”Select an Item Design” pop-up menu in the ”Cacidi Extreme” palette.
Now, point to the file Salgscheck.EPS, located in the EDC picture folder, and select it.
You wil now see the green box switch to pink, with an image path described in it’s upper left corner.
Repeat the process with the green boxes in the very low left and low right corners of your layout, pointing to the files Salgscheck-lille.eps and EDC-logo.eps
Saving the Page Design
Now save the page design in your Real Estate project folder and call it ”MyRealEstatePage”. Clear everything from the layout, and select ”MyRealEstatePage” from the ”Select a Page Design” pop-up menu in the ”Cacidi Extreme” palette.