
The Price Lists tutorial project is showing the use of the advanced Data Grouping option as well as a utilizing tables and the Prototype Placement Inline Calculation method . The project is designed to produce a full list of sanding papers. A large part of the tutorial are quite similar to the “Creating Price Lists Using Paragraphs” tutorial which shows a different approach to a price list production.
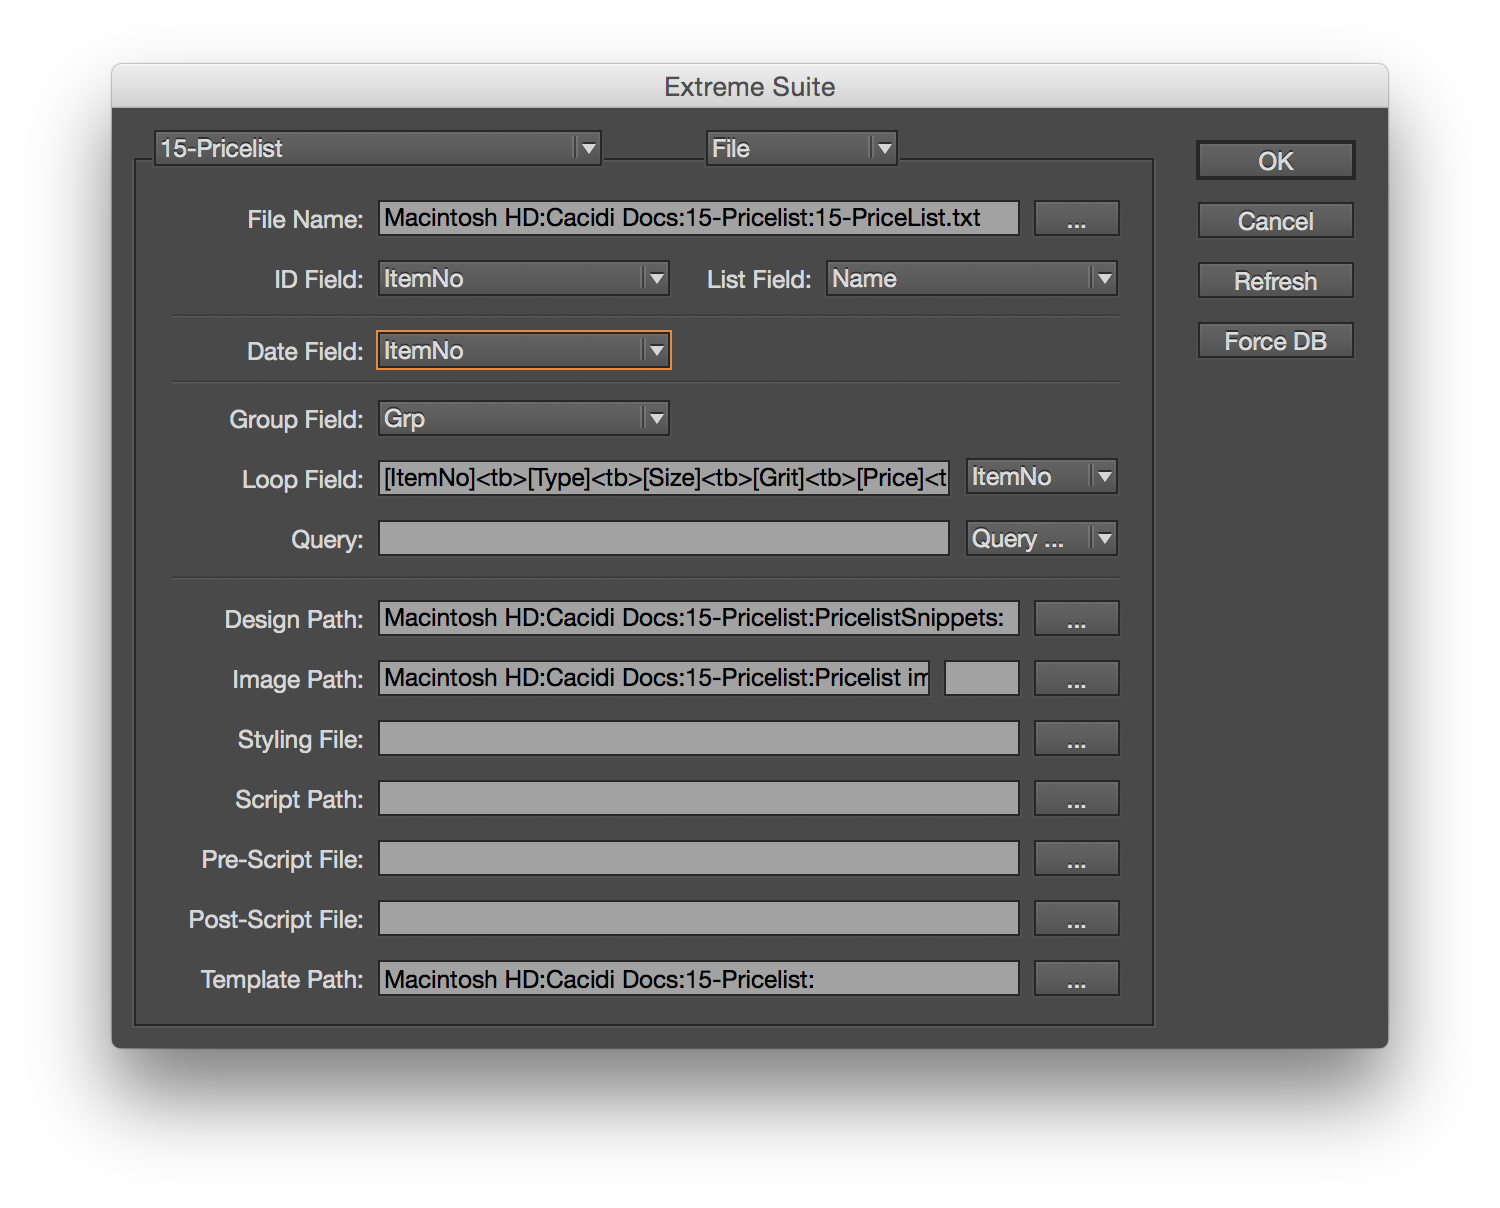
Project Settings
The 15-pricelist project should look like this:
The Data file
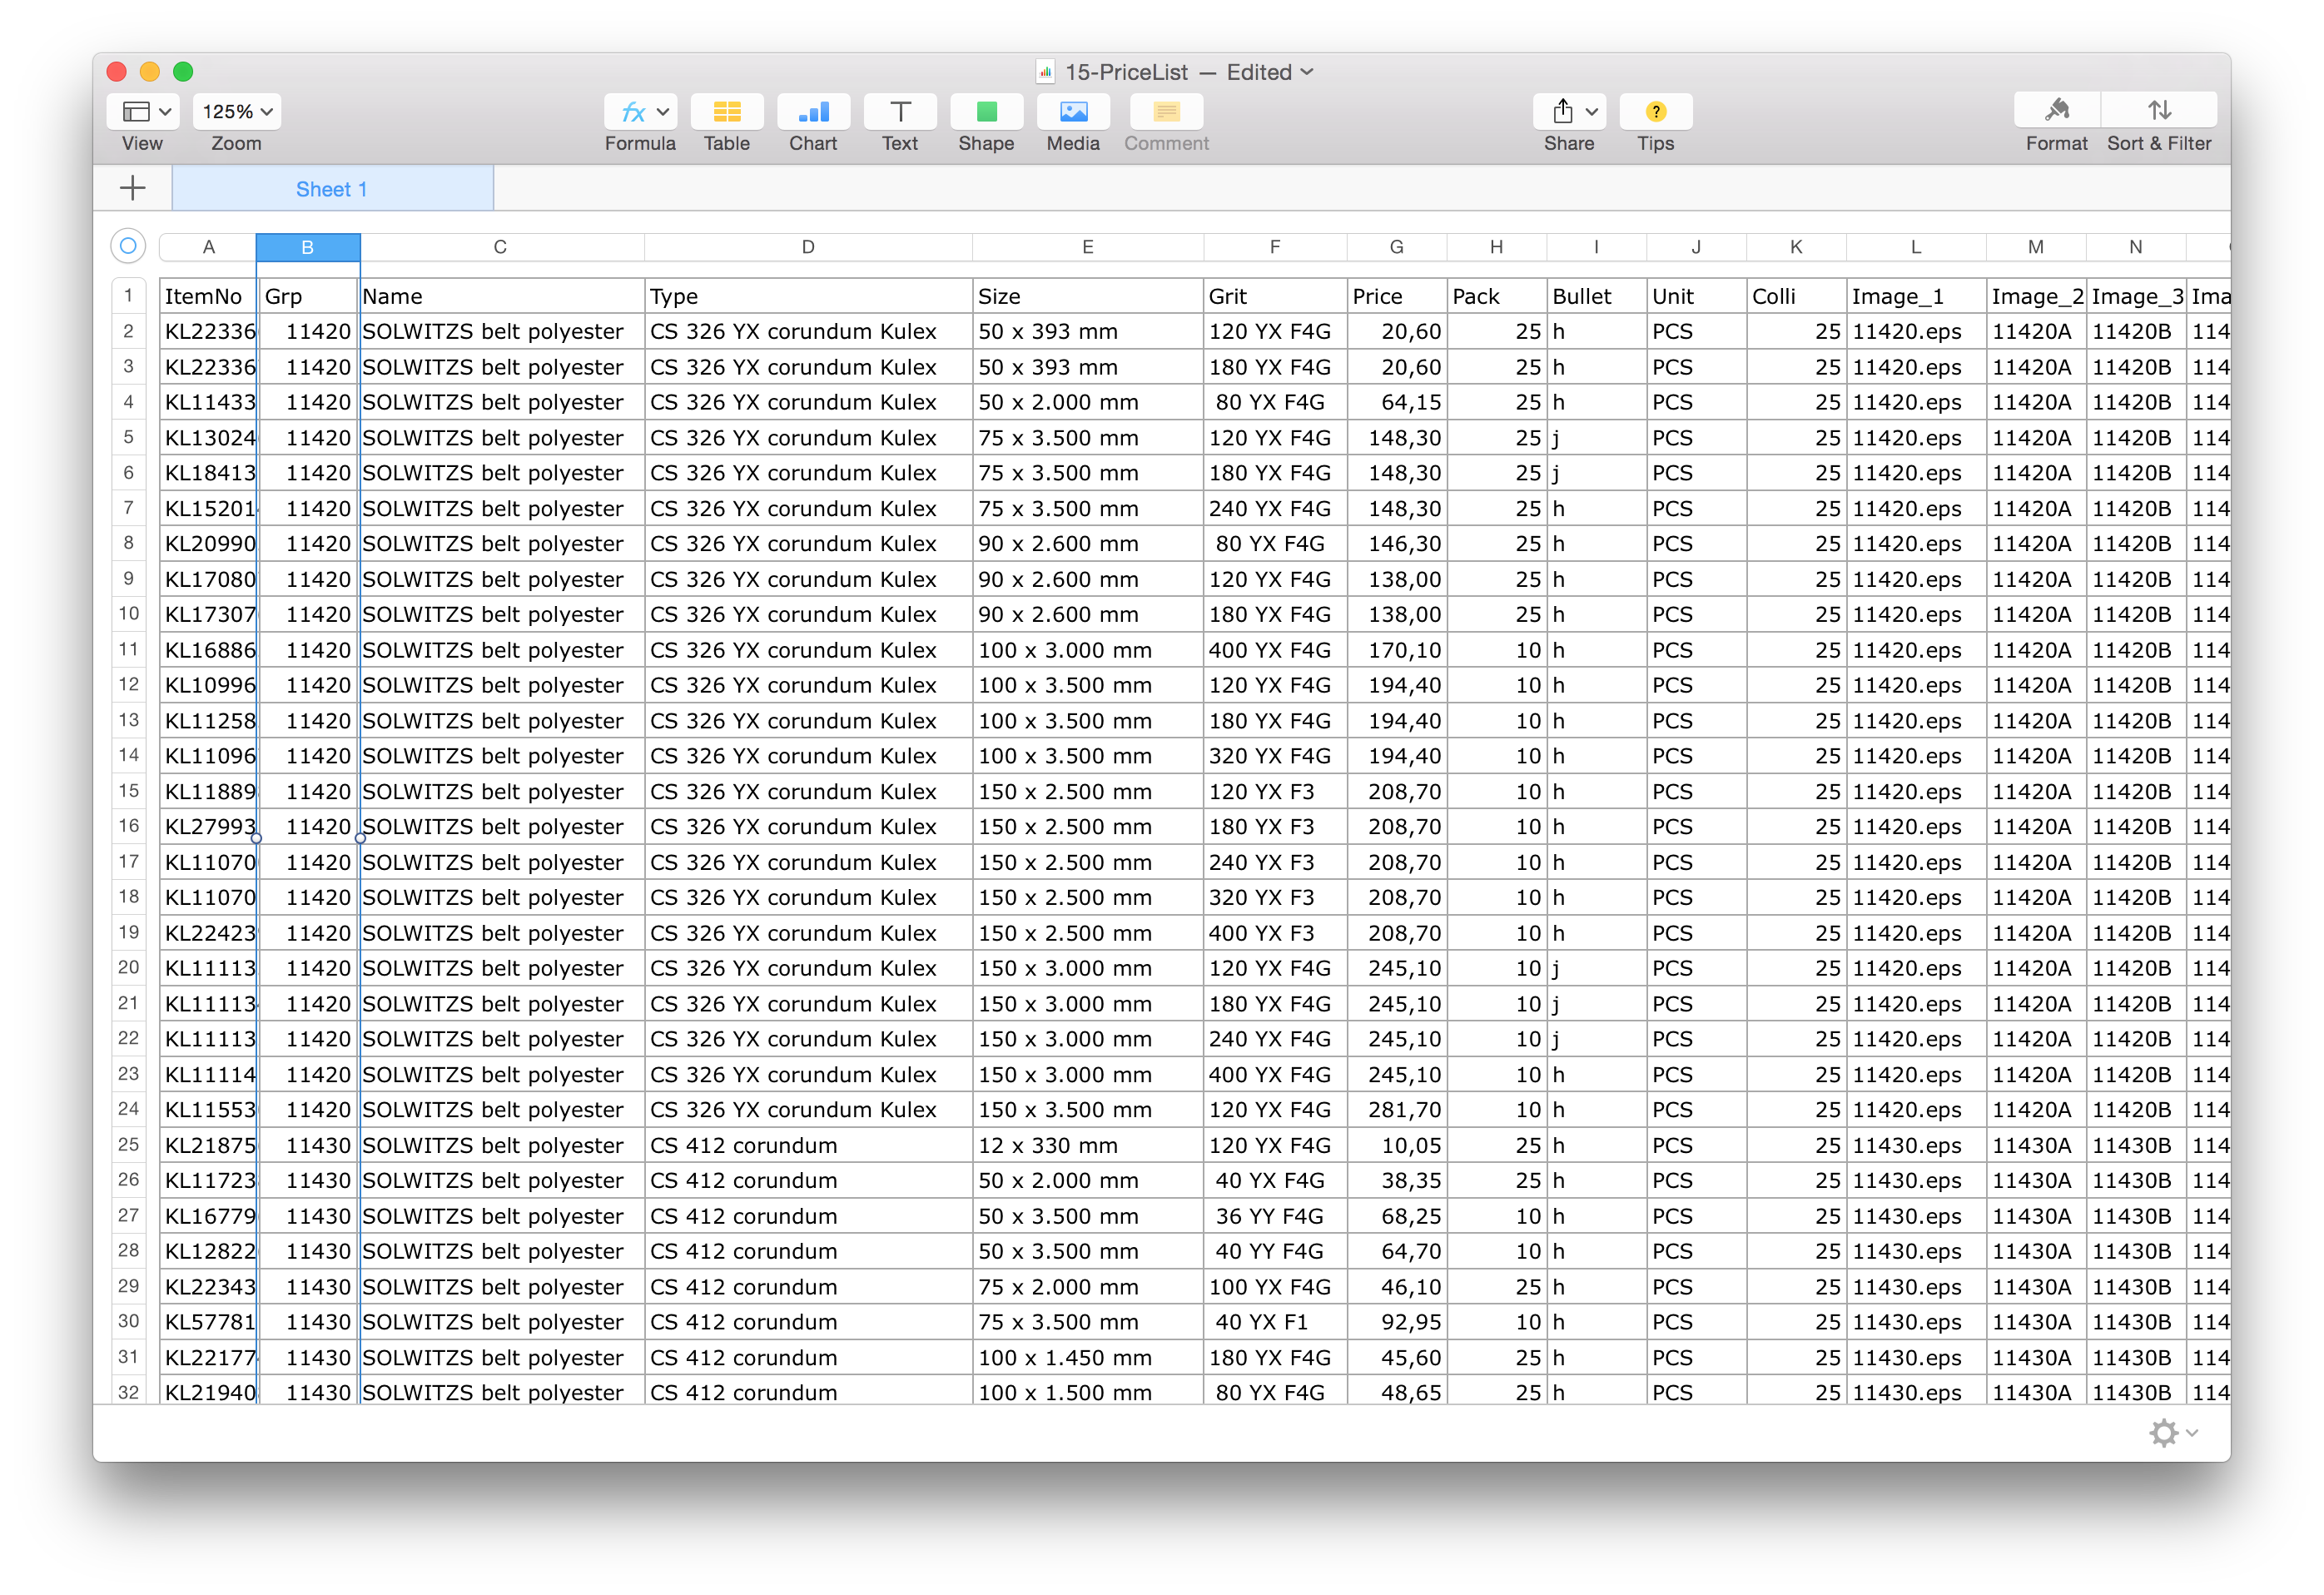
The rather extensive Data file, Data.txt, holds records for 1400 products divied into various sub groups defined by the “Grp” data field. Each ware has information such as Price, Type, ID field etc. and each group points to a image for that group. Open the Data file in a text editor or a spread sheed application like Microsoft Excel to view the data file and its contents.
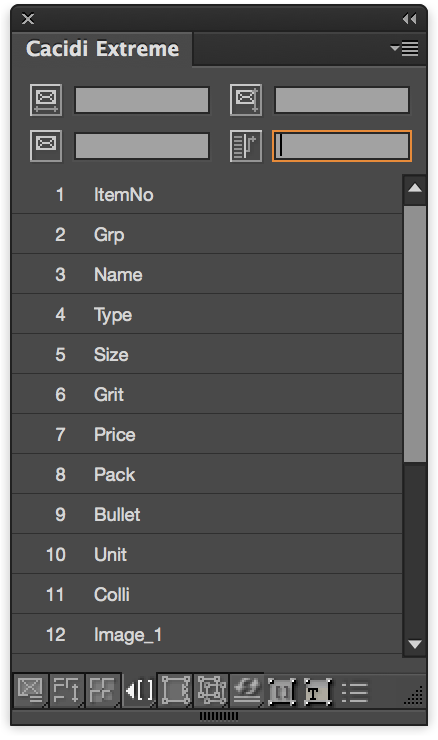 Click on the Text Link frame in the Cacidi Extreme palette (icon fourth at the bottom of the palette) to view the various Merge fields available, the first data line in the data file shown in the spreadsheet shows the same as the Text Link Panel of Extreme.
The Template and the Page Grid
Start by opening the InDesign document by selecting it from the “Select an InDesign Template” popup menu in the Cacidi Extreme palette. This will open the Pricelist.indd document which is really nothing more than a blank page upon serving as base point for the multipage document to be produced.
The Page Grid for the project should be set to 1 columns by 1 rows with a 0 mm gutter for both horisontal and verical gutter.
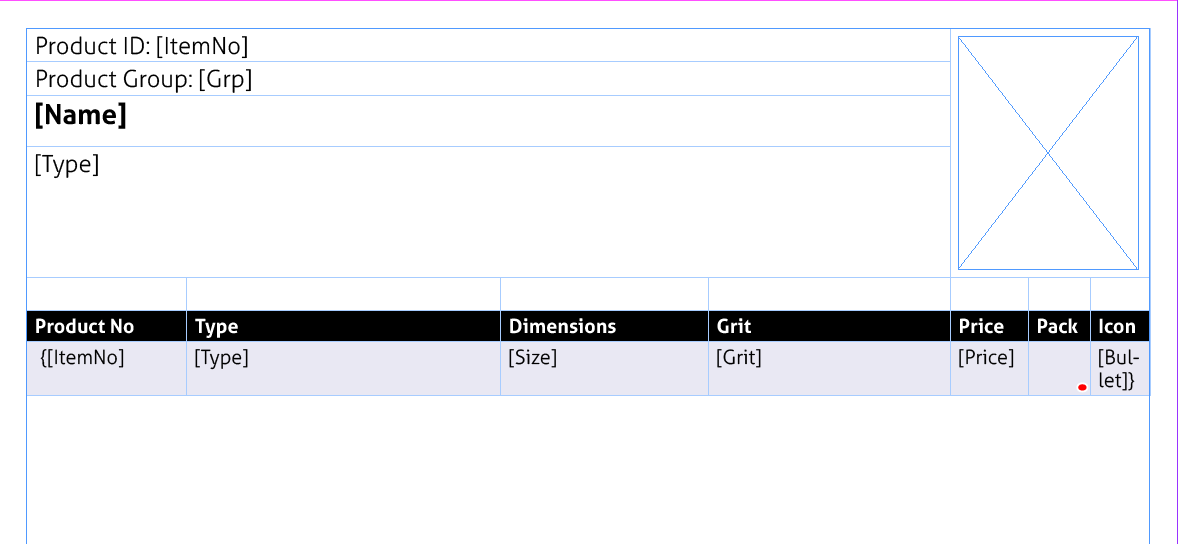
The Item Designs consist of just one text frames: This frame has all the data fields, all in a table and the image are also placed inside the table
The LOOP field – a data container for our table
The [LOOP] Merge Field are not used in the item design as such, we pick the data we need, and different tables could take different fields from the [LOOP]. The data in the LOOP field are collect in the project settings as described above.
[ItemNo]<tb>[Type]<tb>[Size]<tb>[Grit]<tb>[Price]<tb>[Pack]<tb>[Bullet]
Using the curly brakets {}
Use the {} to mark the start and the end of the repeated pattern.
Creating the design
Start by creating a text frame that will contents all the elements. Then insert a table inside as shown here. Apply all the styling you need (or use the one we have created for you)
The Prototype Placement Inline Calculation method
The Prototype Placement Inline Calculation are merge data into the design (and the design can only consist of one text frame), and the copy the contents of the text frame to the “mother” text frame, which will be linked from page to page. The setup of the Calculation Style a quite straight forward. The height and width are set to “1” in the Text Link Panel, and the Item Design are hardcoded as “PricelistTable” because we are using the same design all over.
Running the price list as a Prototype Placement Inline
Go to the AutoCalc panel (second icon at the bottom of the Extreme palette) select the PricelistTable.cac and press the “Calculate” button.