
Setting up databases in the admin panel
To be able to create databases, setting up how the database should visualised and who will have access to which database, the Admin part of LiveEditor for WordPress will have to be visit. All settings are done, while logged into the Dashboard of WordPress.
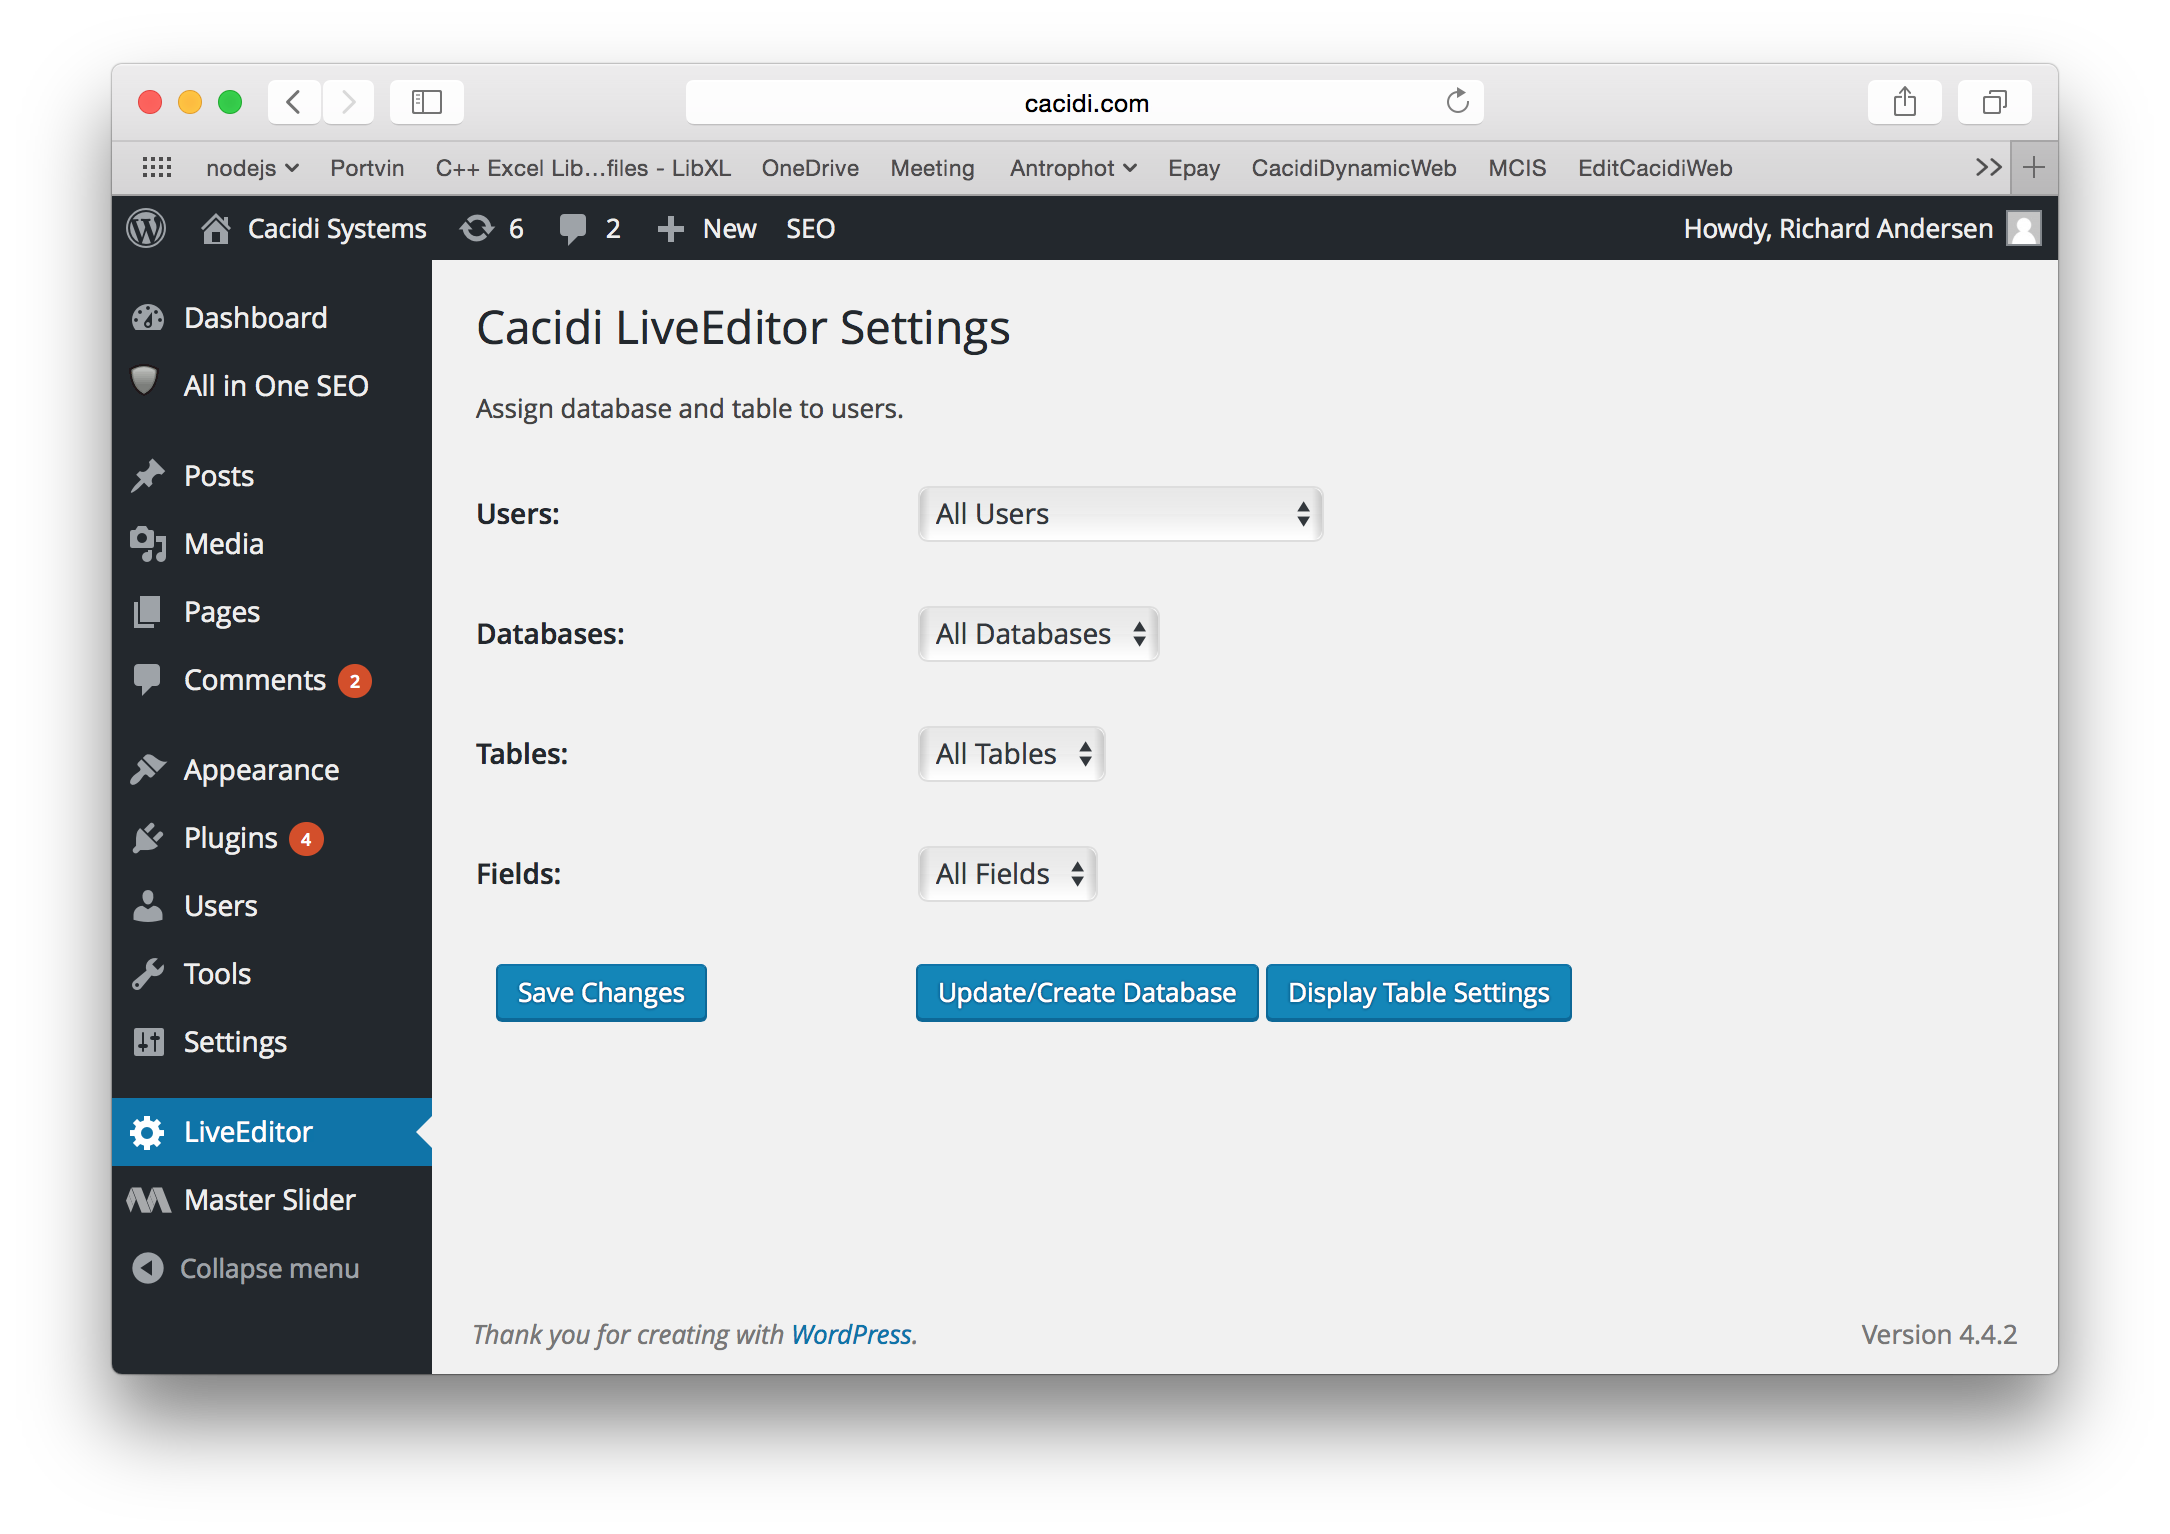
The Admin->LiveEditor setup
There are two part of using LiveEditor for WordPress, creating and setting op the connection between database and user, and viewing and editing the data. This chapter is about setting up all the connection between users, databases and the viewing of data.
Connecting Users with database
In the Admin->LiveEditor you can setup the connection between the specific user and database and table. By selecting the user in the “Select a User” popup menu, and the select the database, table and ID field (for updating and merging a new data file with the database) in the appropriate popup menus. Press the “Save Changes” when you are done with each user.
If you are selecting a database/table/id when the user pop menu shows “All Users”, and saving the connection the chosen data connection will be the one available for all users, visiting the web site, but no editing is allowed.
Creating the list page for viewing and searching
When creating the page for listing the record, the the short code below, and replace the “edit page” to the name of the page that you will use for editing data. This is the way you bind the listing page to the editing page. You can of course have all other page info you linke on the page.
[[cacidi_le_list editpage=”edit page”]]
Creating the edit page for maintenance data
Create the page and insert the short code below and replace the “sample page” with the correct page for listning of the record, again binding the edit page with the listning page.
[[cacidi_le_edit_record listpage=”sample page]]
Creating a database
To create a database is done by using a comma or tab separated file. The encoding should be as you platform, which means, if you are running on a Windows, use a Windows-ANSI file, if you are browsing on a Mac, use a Mac Roman encoded file.
Log into the site as a administrator, and navigate to Admin->LiveEditor and click on the Update/Create Database. A file upload panel is now shown, and by selecting the file and pressing “Upload” a database is created. The name of the database will be the same as the filename of the uploaded file. If a User, database, table and ID field is selected, LiveEditor for WordPress will update the selected database.
Updating an existing database
Select a database, table and fields for the database you want to update, before you upload a file. It’s importance that the field selected is the field that the database are using for matching a record to record database to file. New records will be added, and records already existing will be updated to the information in the file.
Controlling how list and edit fields is shown
To control which field is shown as text fields or images, press the “Display Table Settings” in the Admin->LiveEditor, after selection database and table. For each data field are there three choices in the popup for List / Edit View – text, images or hide. Meaning how should each field show on the list page or on the edit page. Remember to save the setup using the “Save Table Settings”.